Installing and Using VS Code
This article can be used both as a stand-alone reference or as Part 6 of our series on making a p-value calculator web app. Please see Part 1 for an overview of this project.
Overview
Up to this point in our tutorial series, we have been writing HTML code in a basic text editor. While this is fine for short demonstrations, it is much more efficient to write code in an a more specialized editor that incluces time-saving features, such as text completion, color coding, and automatic formatting. From this point forward in our p-value calculator project, we will do most of our coding in VS Code, a very popular text editor for coding.
Prerequisites
- None
Instructions
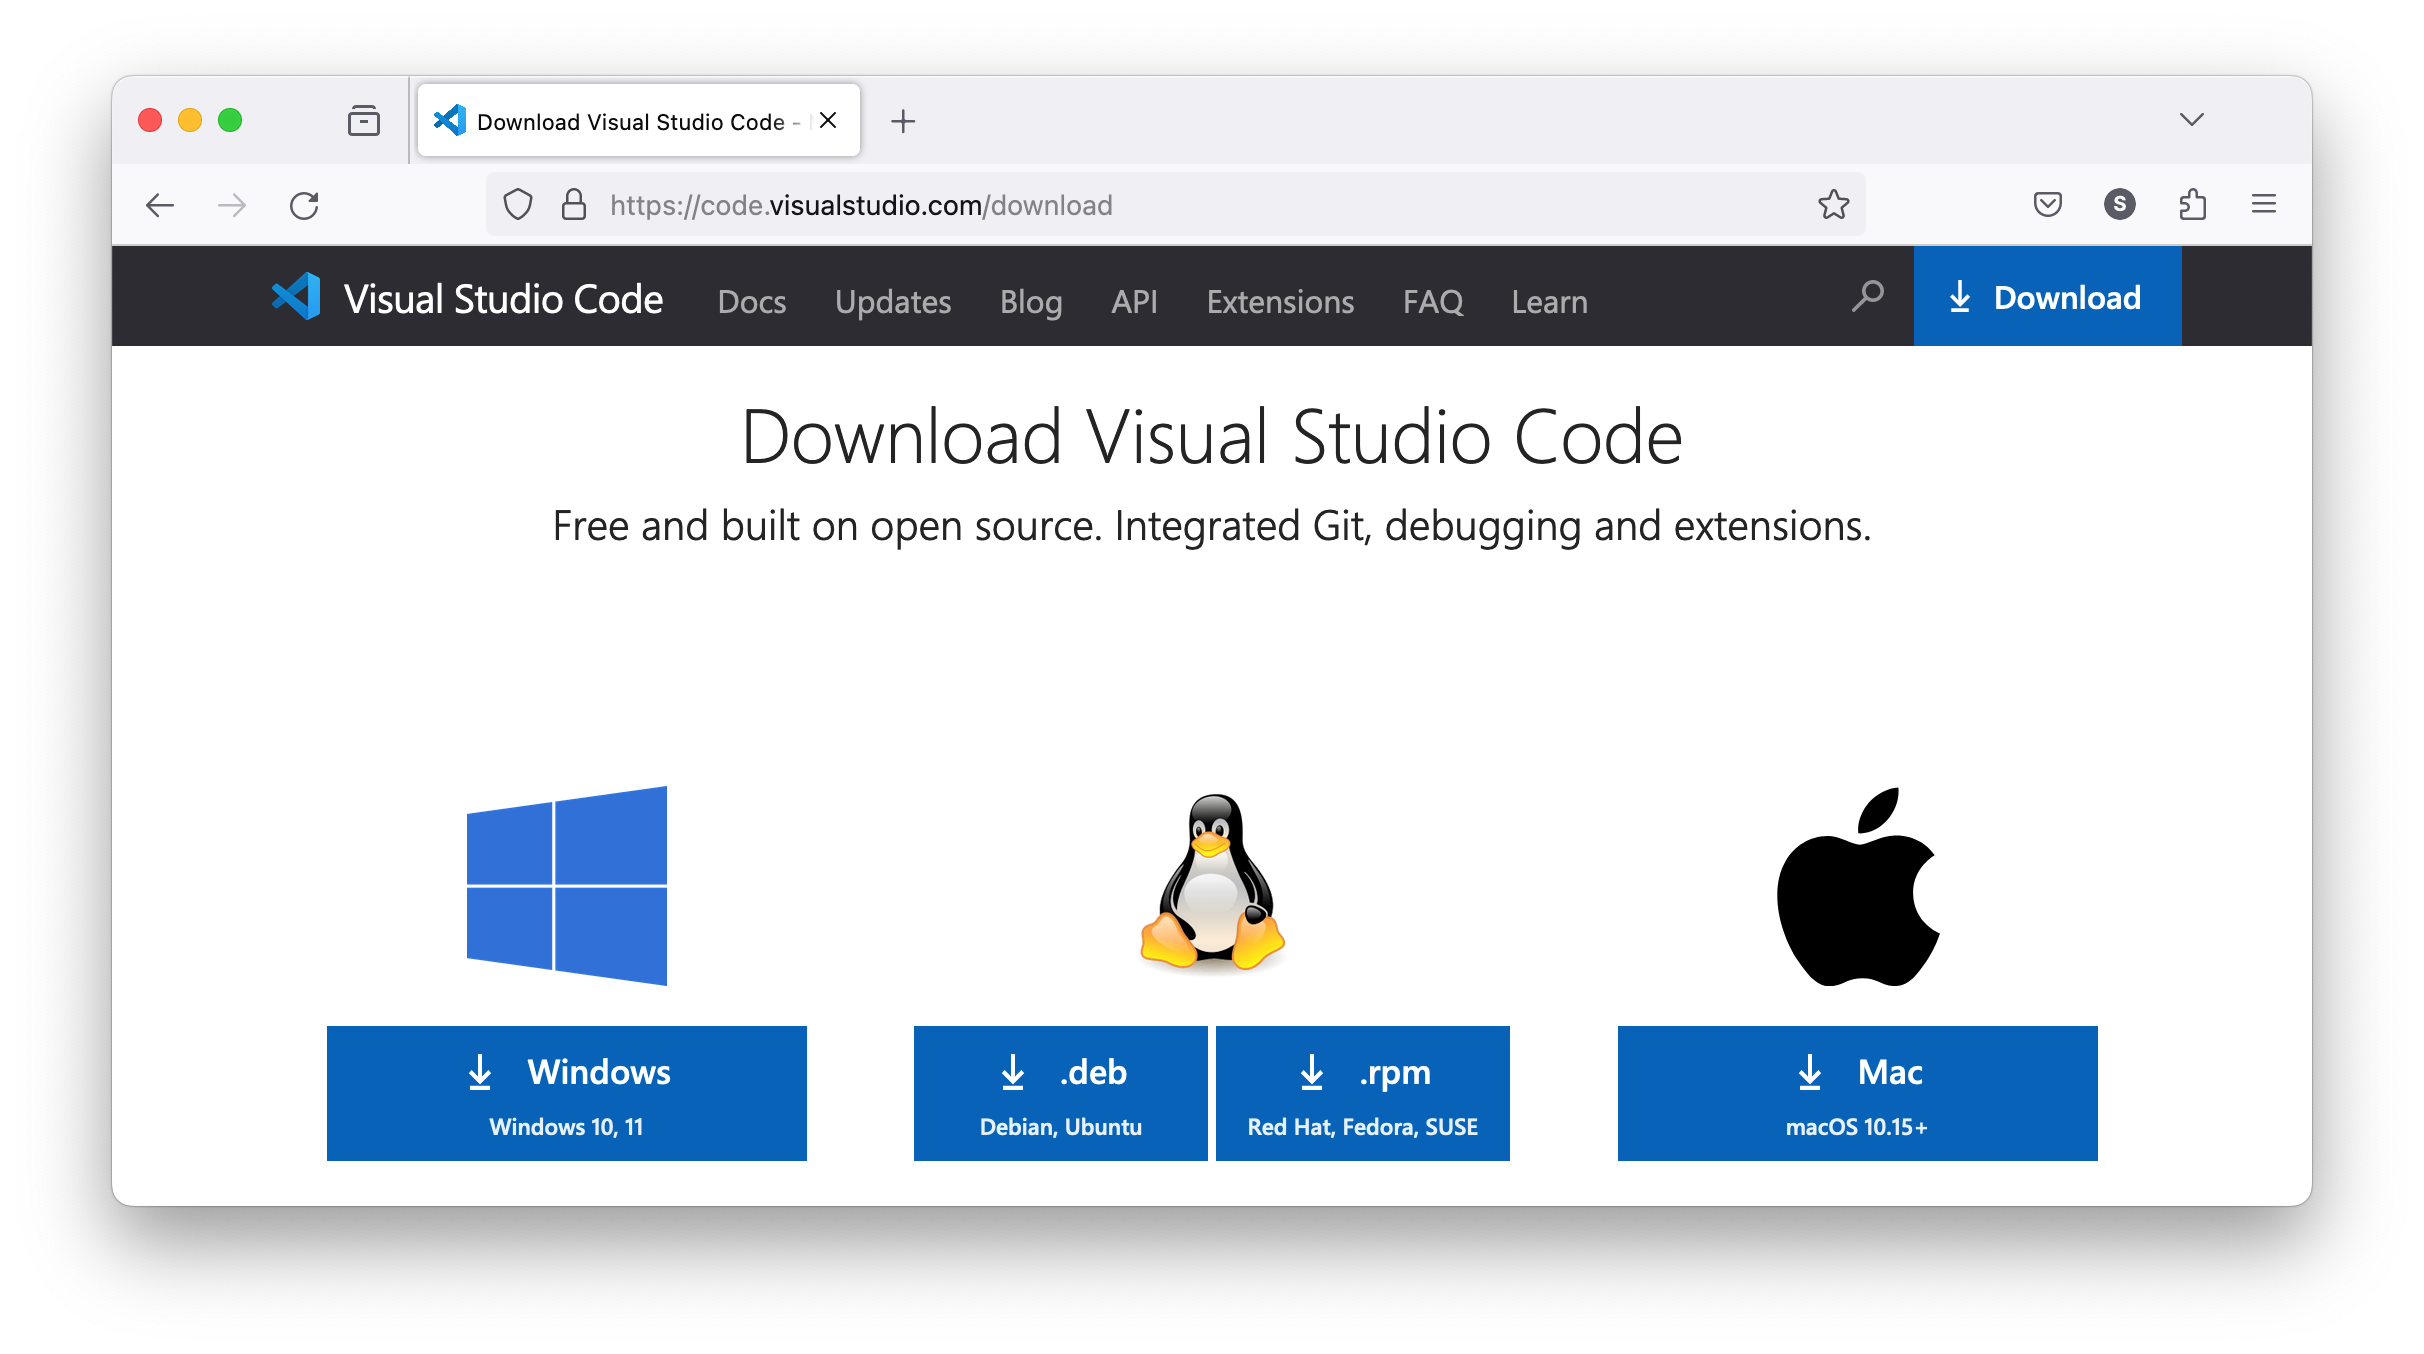
Go to code.visualstudio.com/download and download the installation package that corresponds to your operating system:
Once installed, open a new file with ⌘+N:
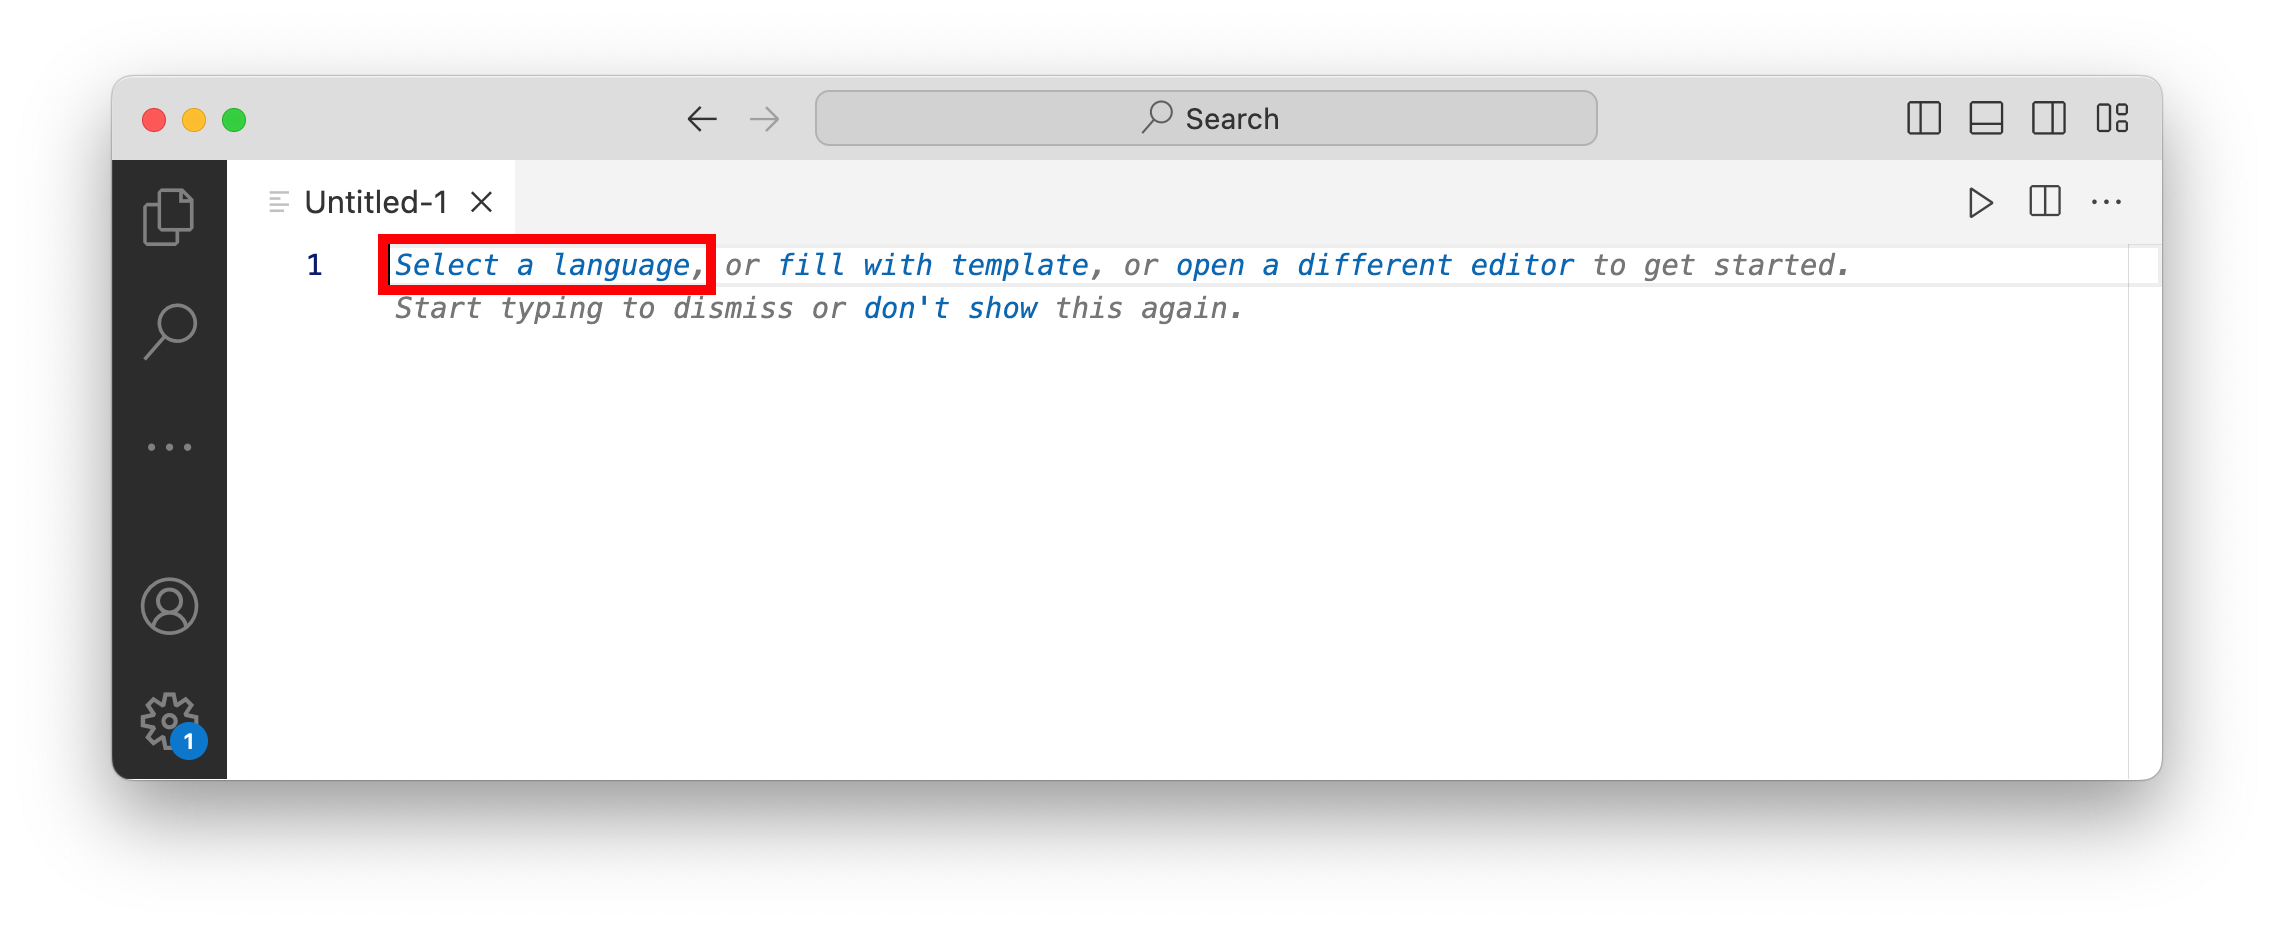
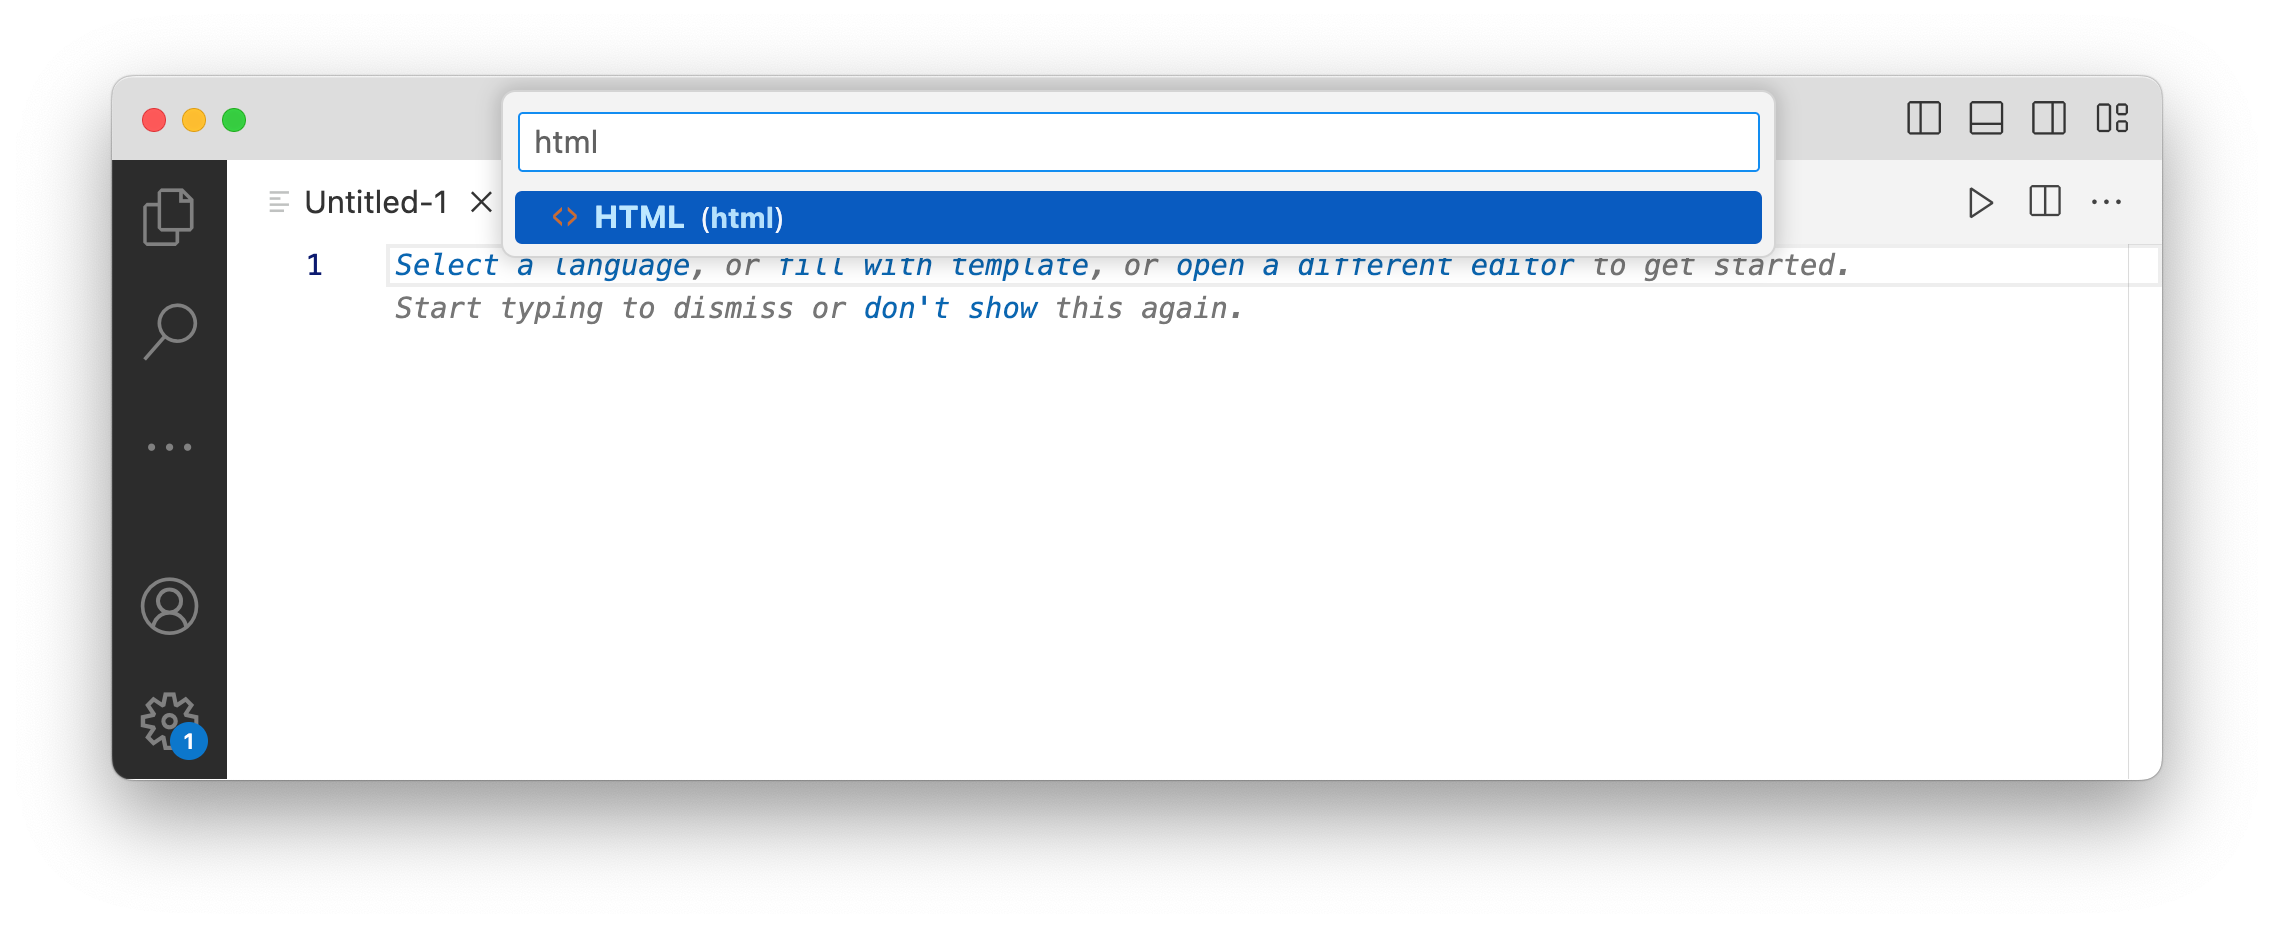
We can specify that we will be making an HTML file:
Let's copy in our HTML code from the last section:
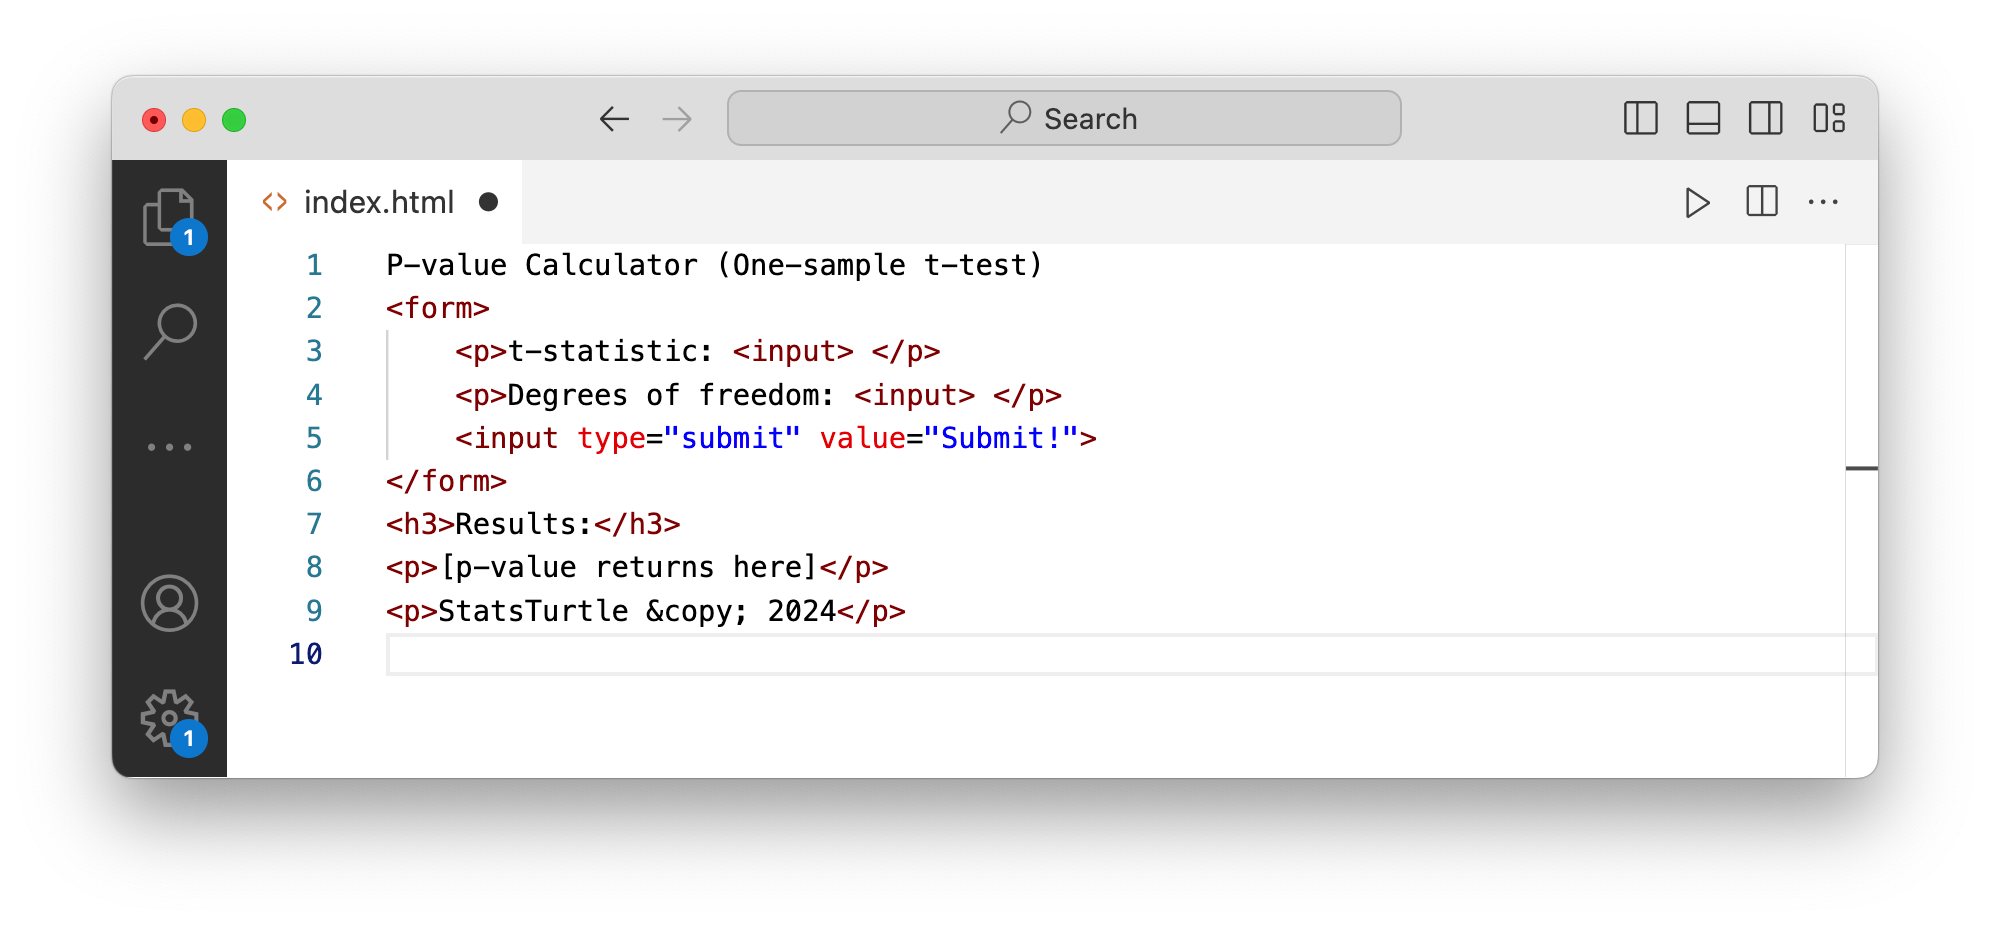
We can see that VS Code color-codes our HTML tags, the tag attributes, and the values assigned to each attribute (in brown, red, and blue, respectively, in the figure above)
You can also see that VS Code can help you auto-complete code: Try going to a new line and typing p + Enter/Return.
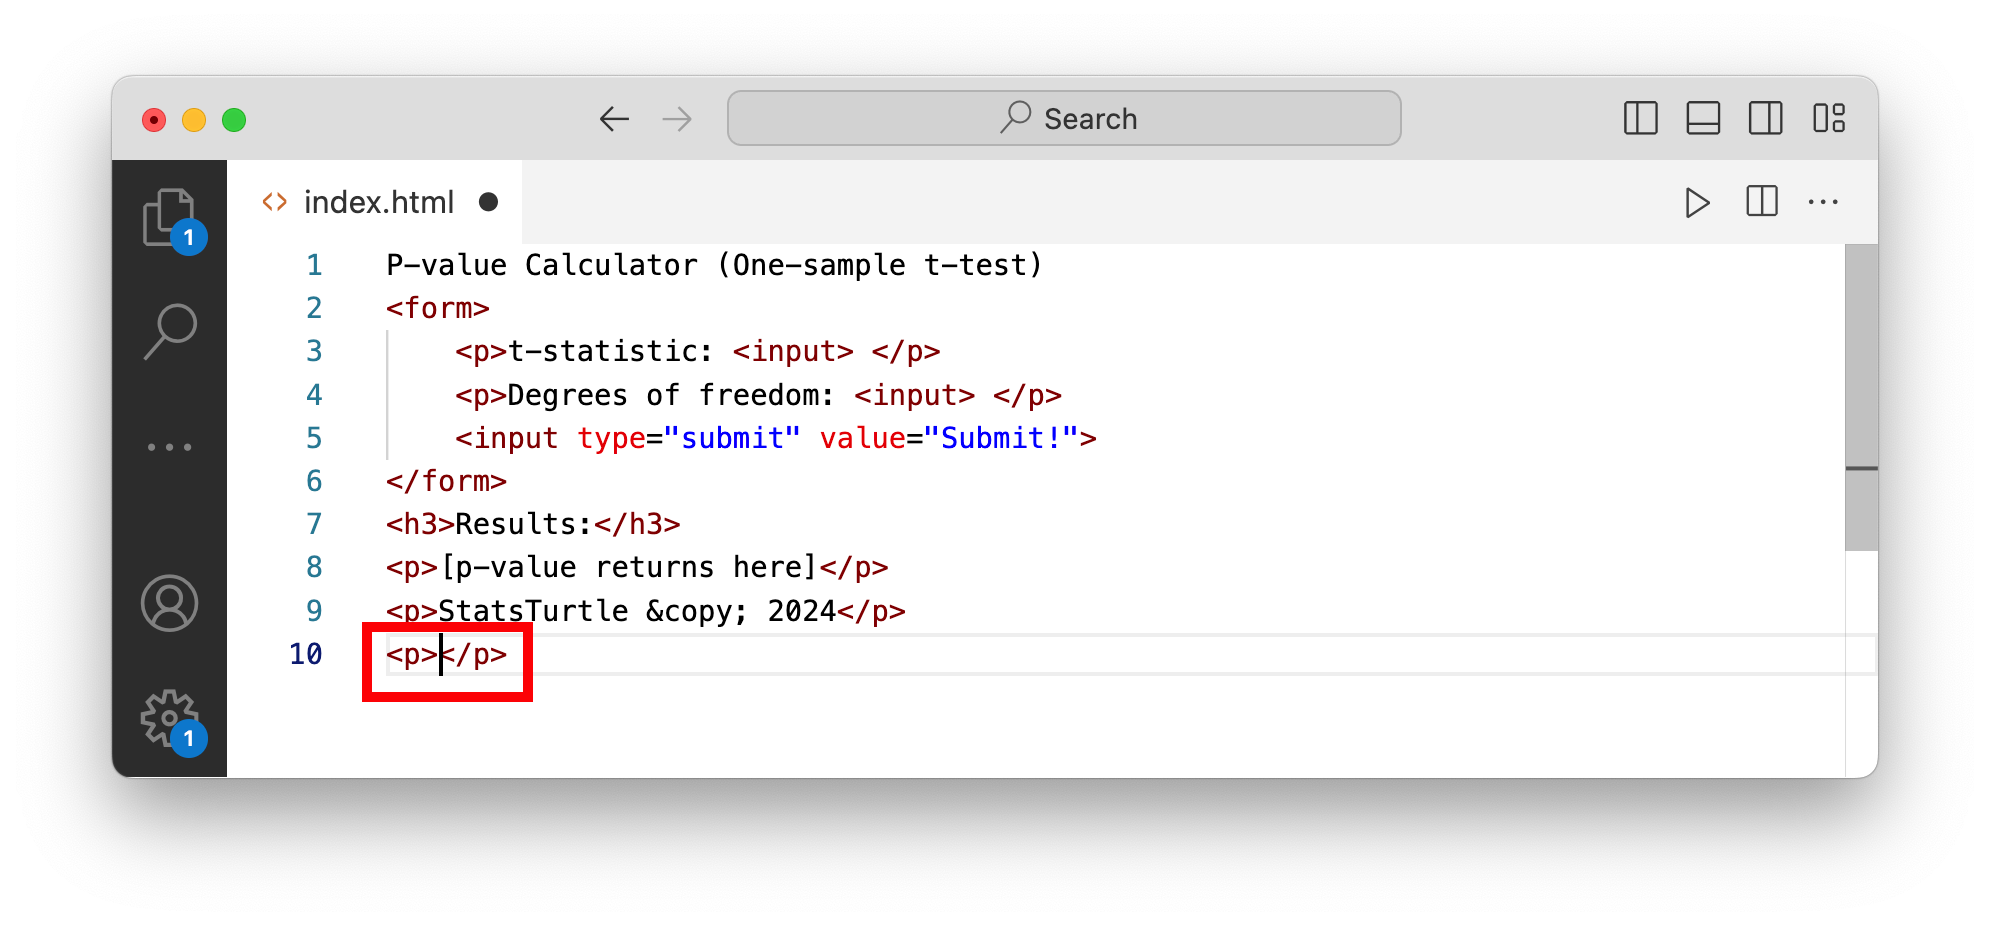
You will see that the program has created
<p></p>tags for you! You will find that these short cuts add up to be real time-savers!
Conclusion
In this section, we took a short break from coding to introduce a handy editor tool, VS Code. Becoming comfortable with tools like this one will save you a lot of time!
Until now our webpages have been static -- they do not change in anyway depending on a user's input. Therefore, our next step is to make a program that we can embed in our webpage. This type of dynamic content will form the foundation of our web app's functionality. Stay tuned!