Collecting User Input with a Basic HTML Form
This article can be used both as a stand-alone reference or as Part 5 of our series on making a t-statistic calculator web app. Please see Part 1 for an overview of this project.
Overview
One of the primary functions of many webpages is to collect user data. In this article, we look at the basic element for doing so, the <input> tag.
Prerequisites
- Understanding how to create and open HTML documents in a web browser (See lesson #2)
- A basic understanding of formatting HTML documents with markup tags (See lesson #3)
Instructions
Let's add some text input fields to our page. First we'll add a
<form> </form>section: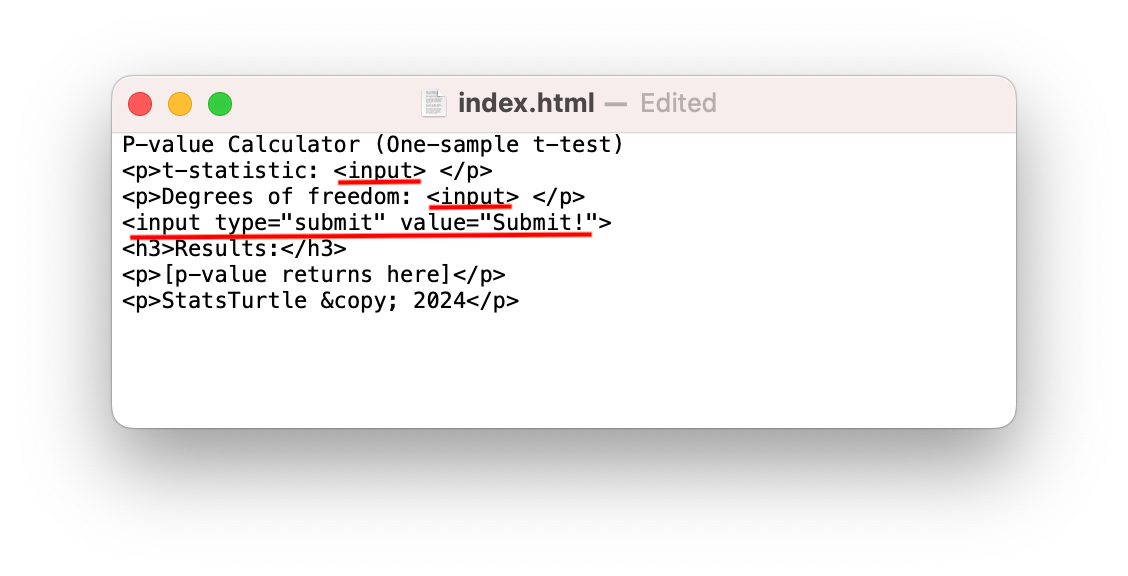
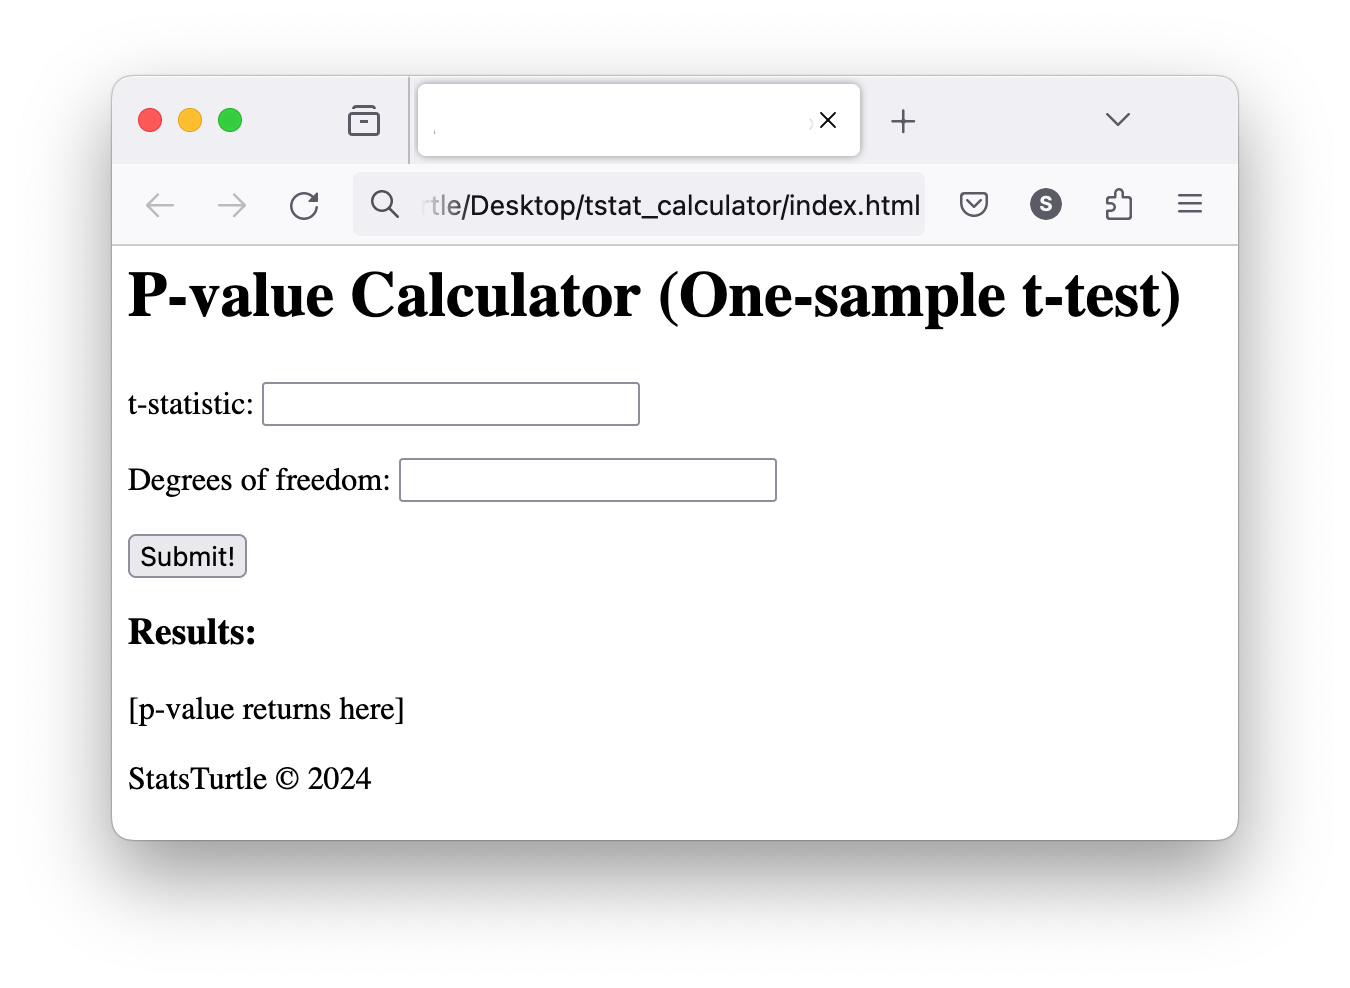
We can see that there are now text input fields and a "submit" button:
We tell the web browser that one of our "input" elements is special -- it has a "type" atribute of "submit." The web browser understands that we want a button when we say this! Our element has another attribute too: "value." In this context, this is the text that appears on the button. You can change this text to whatever you like. Notice that our submit button does not do anything. Why would it? There is nowhere to submit anything to (yet!). The web browser will not do anything to our HTML document that we did not explicitly tell it do.
Also note that I have created a subheading using the <h3> </h3> tags.
While it's not strictly necessary, we will "wrap" the section with out input fields in
<form> </form>tags. This will help us in our future organization because we know all user input will be collected in this section of our HTML code.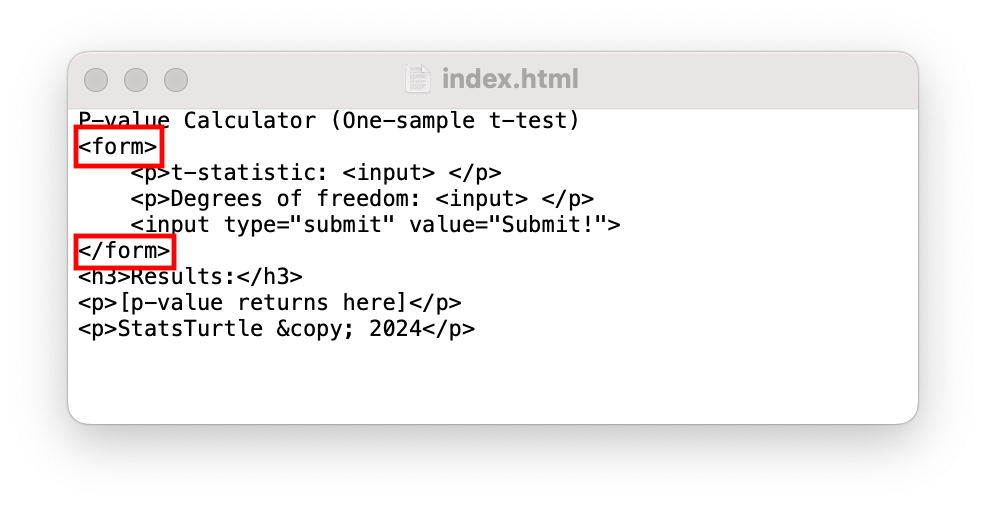
Conclusion
Our webpage is on it's way to becoming functional, as we have now created a mechanism for collecting user data. Of course, we want this app to do something -- take the user data as input, from which a p-value will be retuned. To do this, we will need to write a short computer program, or "script." Therefore, in the next article, we will take a step back from the "front-end" HTML of our app and turn our attention to the "back-end" behind-the-scenes machinery.