Basic HTML "Markup" for Formatting a Webpage
This article can be used both as a stand-alone reference or as Part 4 of our series on making a t-statistic calculator web app. Please see Part 1 for an overview of this project.
Overview
We've seen how to create a (very) basic webpage by adding text to an HTML document. In this article, we introduce the basics of formatting that text.
Prerequisites
- Understanding how to create HTML documents and open them in a web browser (See lesson #3)
Instructions
Let's add some more content to our webpage!
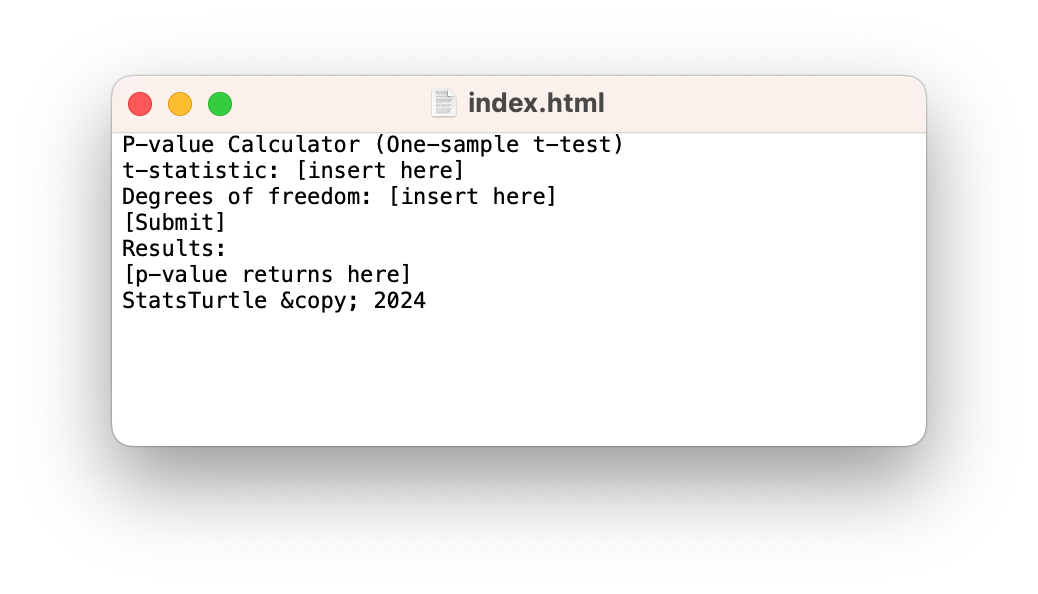
Let's open our new changes in a web broswer:
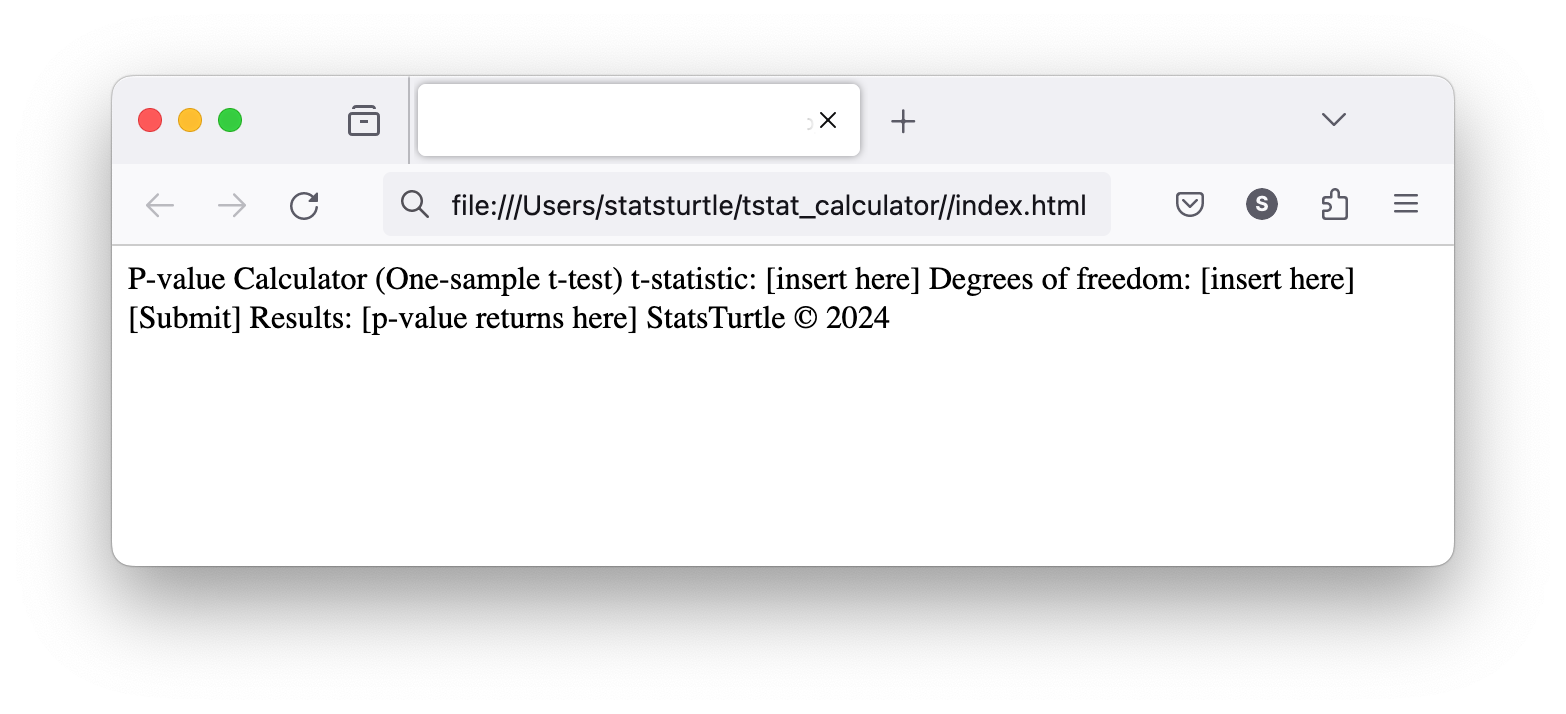
Notice your web browser interprets
\©as "©". This is because\©is the "unicode" for the copyright symbol. This is our first example of the web browser "interpreting" HTML in a different way that it appears as plain text.Hmm... it looks like our line breaks were not conserved. All of our content looks very cluttered. We can use a "markup" element (i.e., the "M" in HTML; HyperText Markup Language) to separate our lines: the
<p> </p>tags. Anything that we put between these two tags will be in a separate "paragraph:"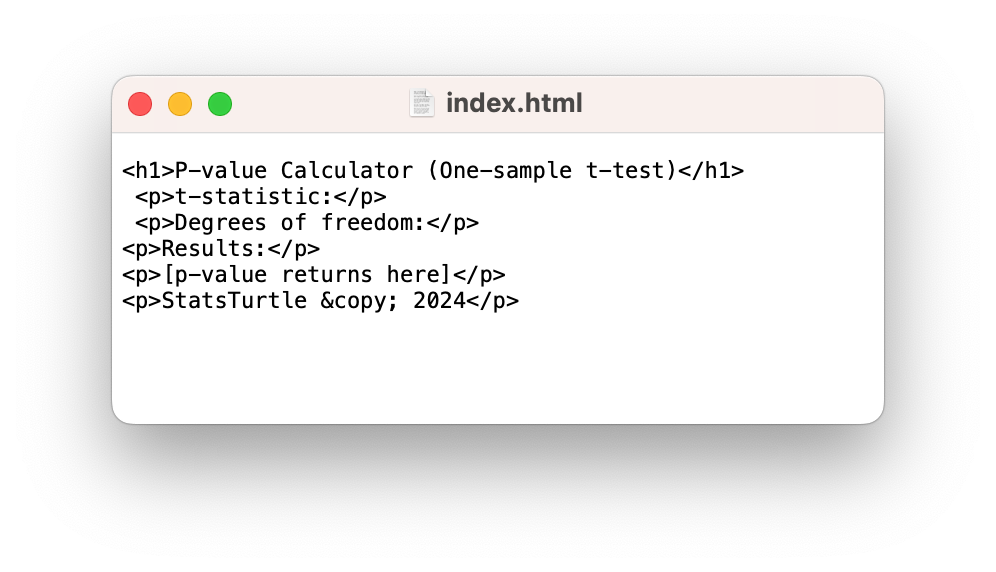
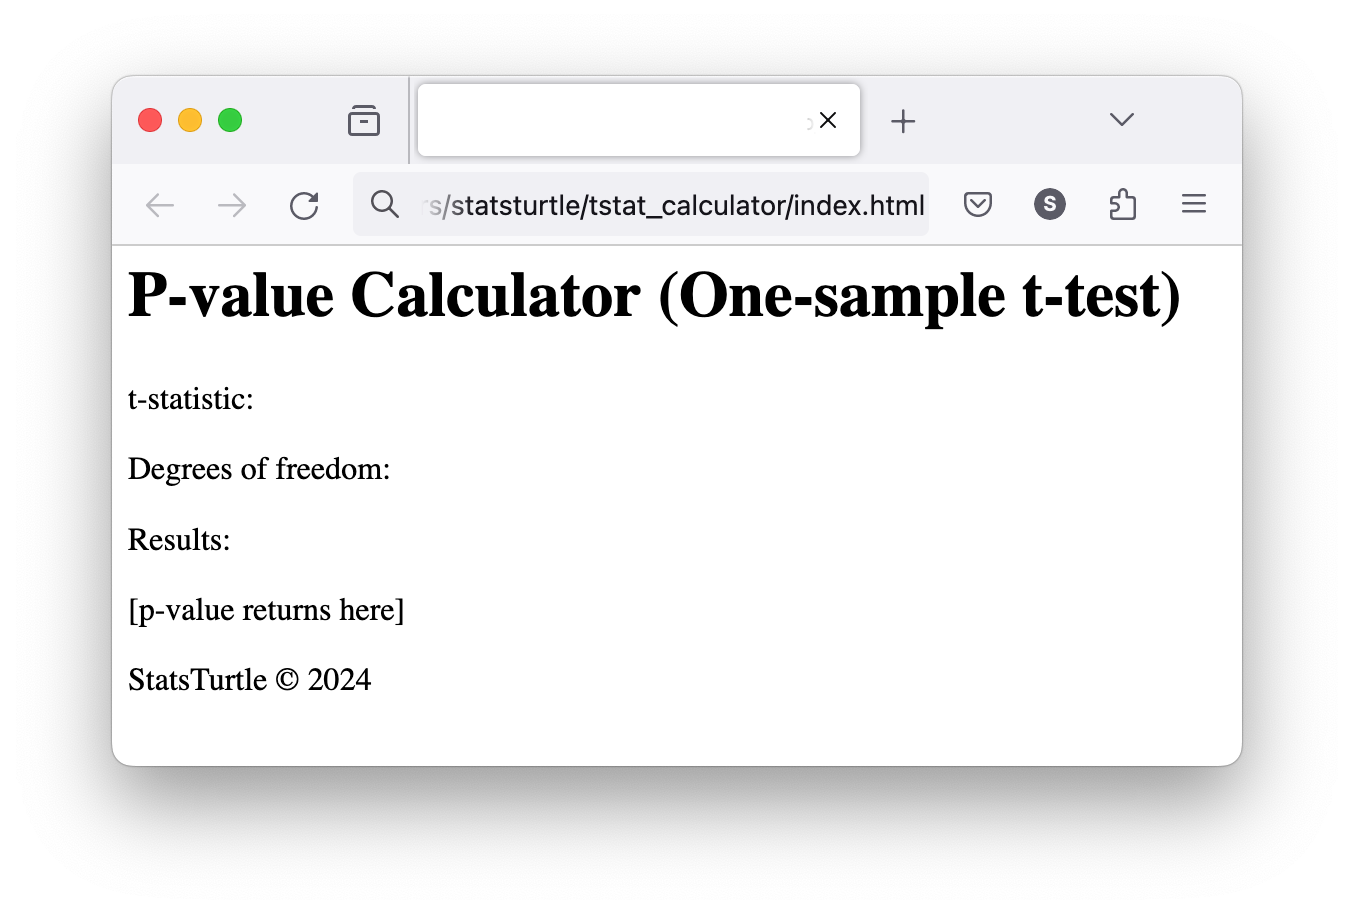
And when we open this up in the browser, it looks a bit cleaner!
Notice also that I used the
<h1></h1>tags to make the first line of text appear as a heading.
Conclusion
Okay, our webpage is looking a bit bitter. It's hardly a "web app" though. A web app runs a program that is displayed to the user through a webpage. In this series, our program will calculate the p-value that corresponds to two numbers that the user will provide: a t-statistic and the degrees of freedom. So, the next step is to add some HTML to our webpage that allows us to prompt the user for that data: text input elements!