Styling our Web App with CSS
This article can be used both as a stand-alone reference or as Part 10 of our series on making a p-value calculator web app. Please see Part 1 for an overview of this project.
Overview
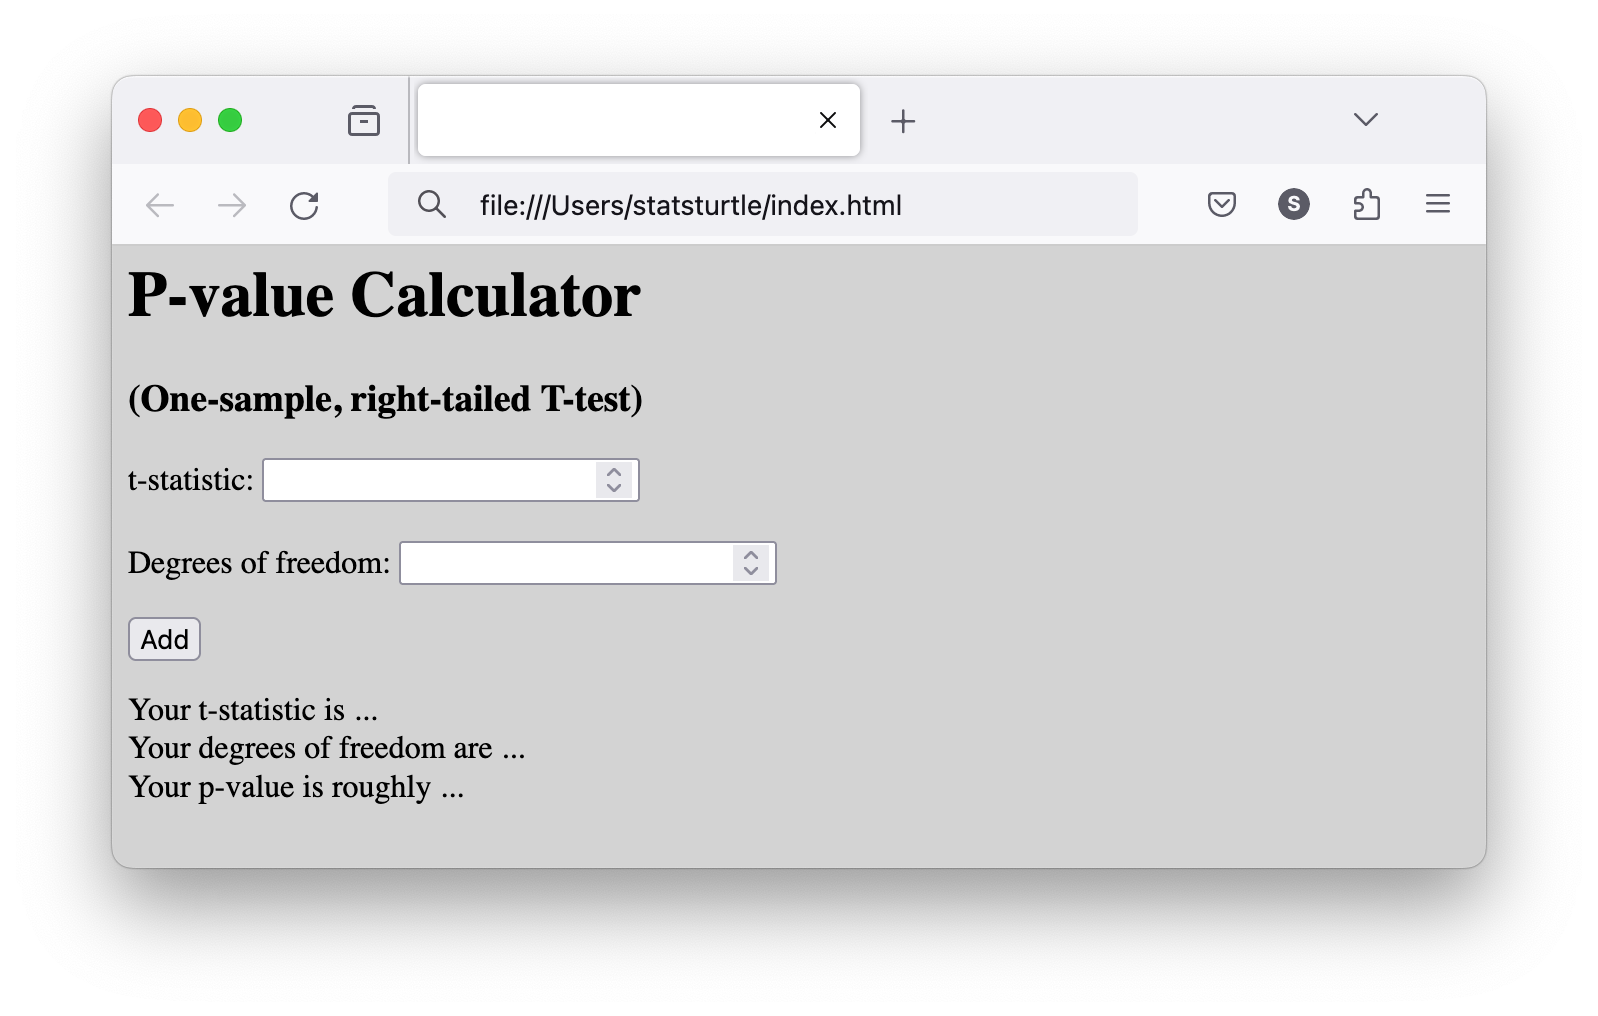
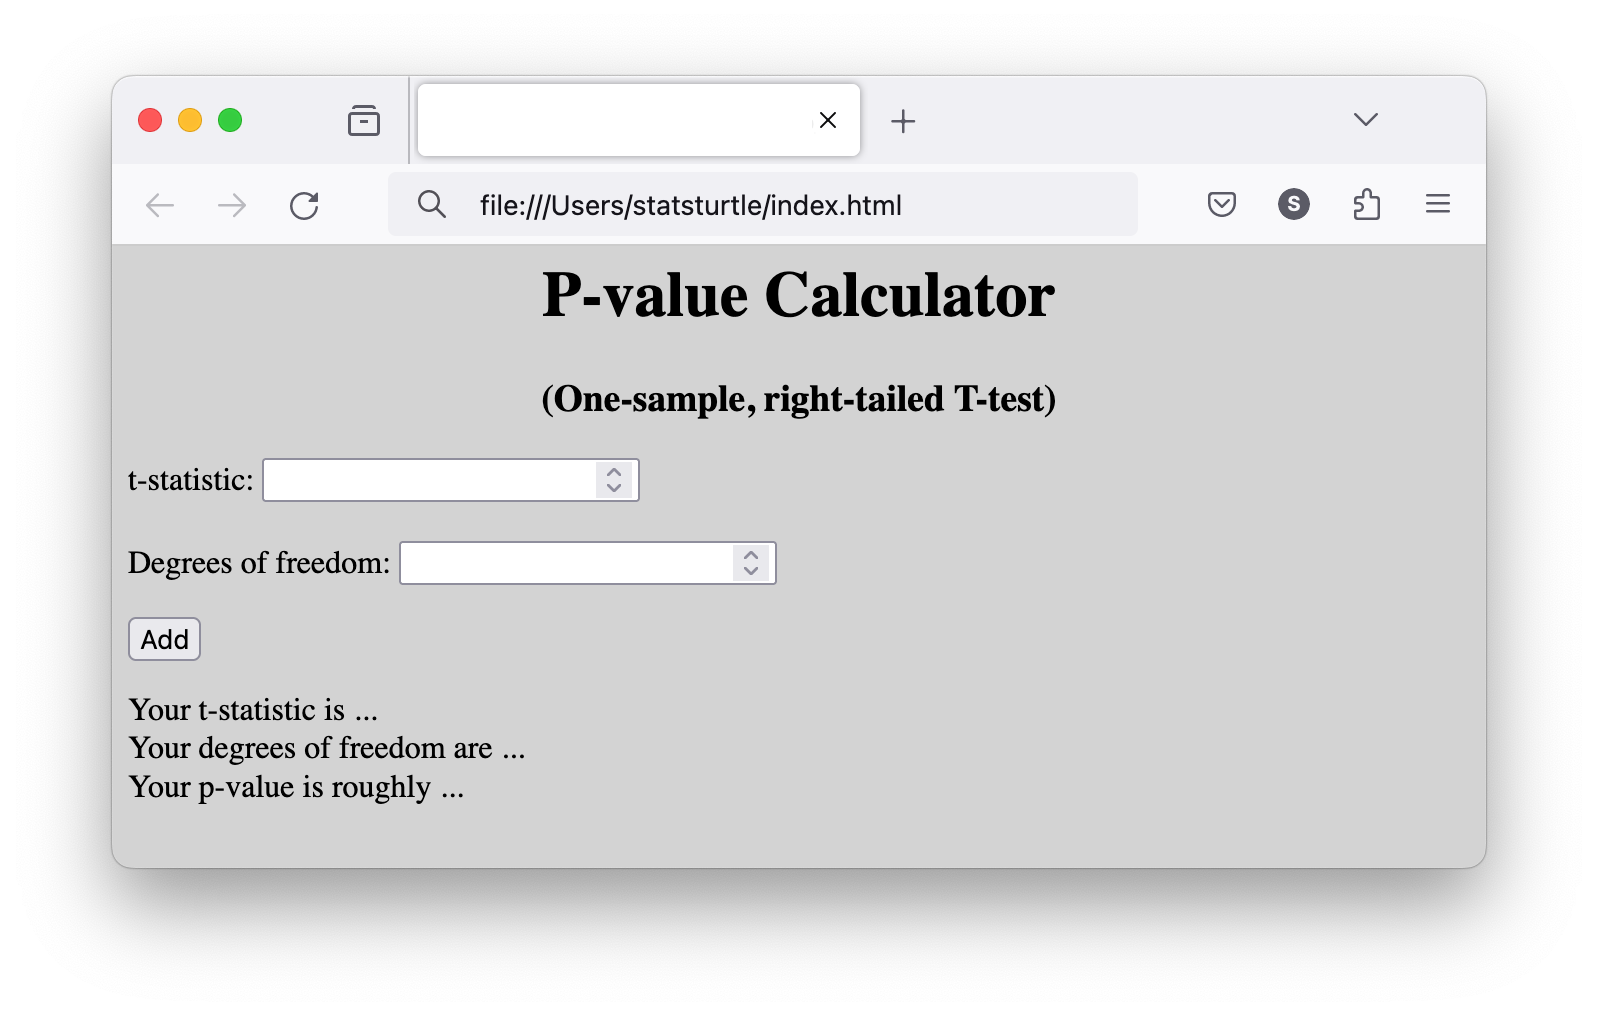
In the last section, we built a functioning web app that calculated a p-value given a t-statistic and a certain number of degrees of freedom. However, it looks a bit basic:
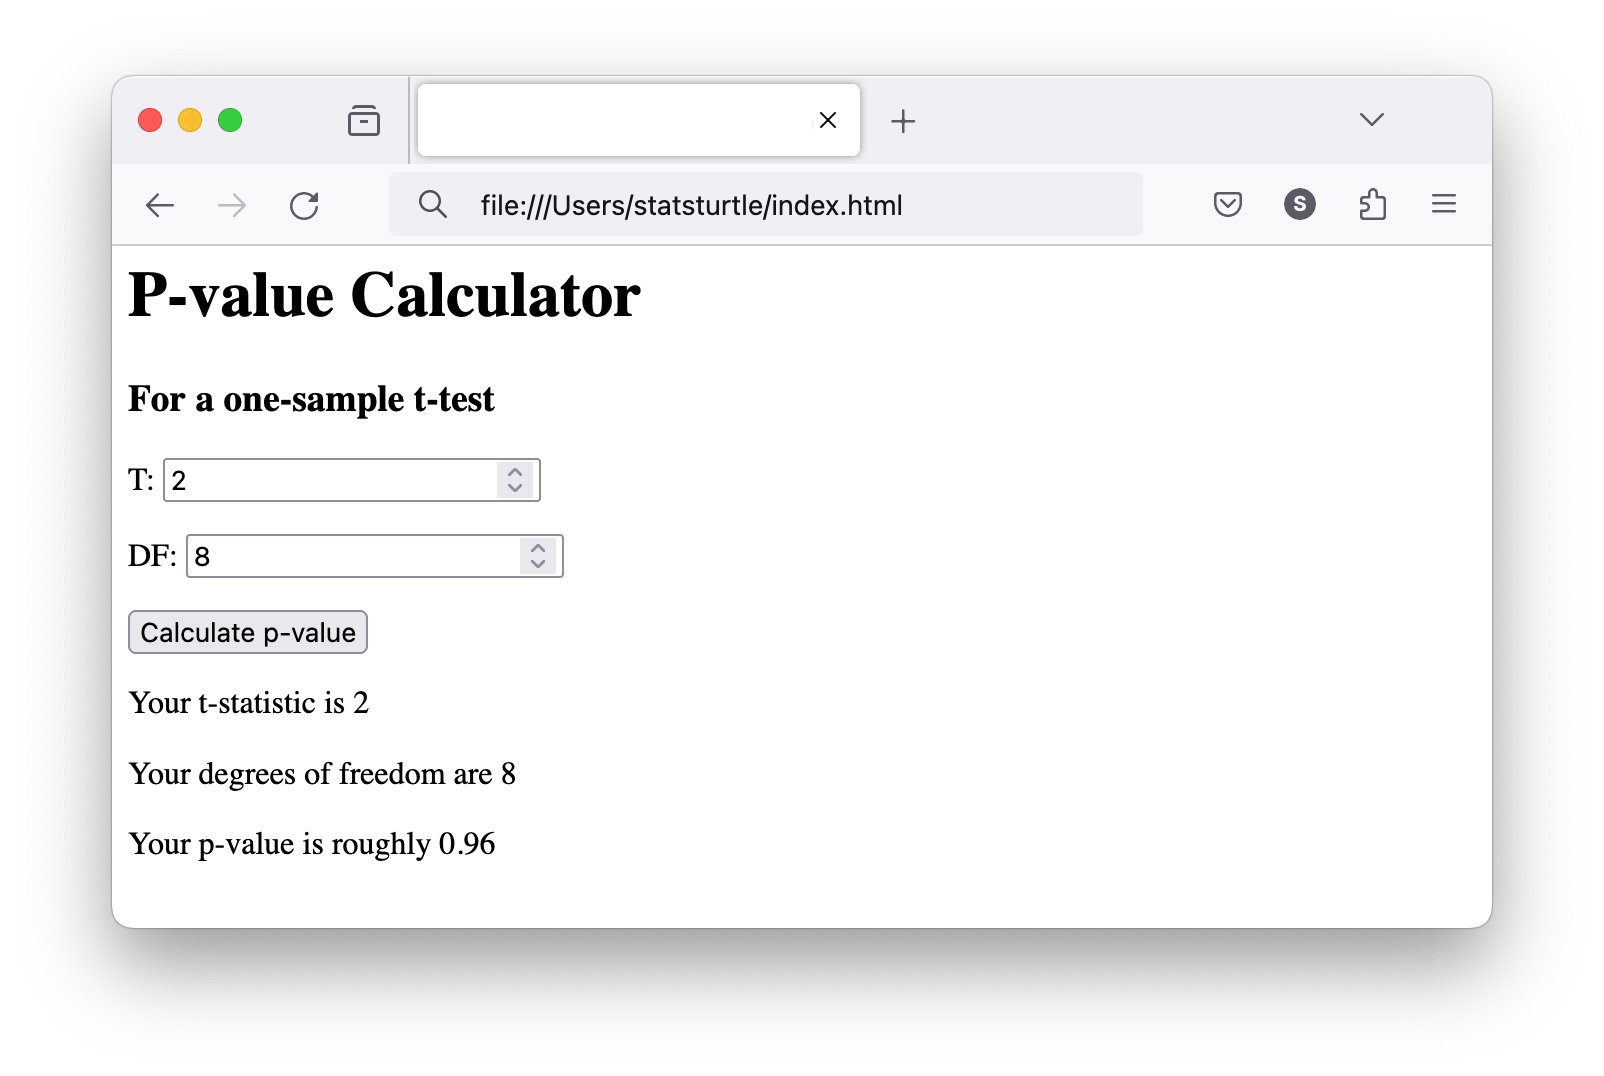
In this section, we will learn how to style our HTML elements to make a more attractive result. To do so, we will use "Cascading Style Sheets", or CSS. This is a fundamental technology for front-end web design.
Prerequisites
- Basic familiarity with HTML (see lessons 3-5 of this series)
Instructions
We will be using Cascading Style Sheets, or CSS, to make our web app look a bit nicer. With CSS, we can give the browser special instructions for how we could like each type of HTML element to be displayed. If you are looking for a comprehensive CSS instructional resource, I recommend the material at w3schools. Hopefully, this section and the next section of our tutorial will give you a decent introduction though.
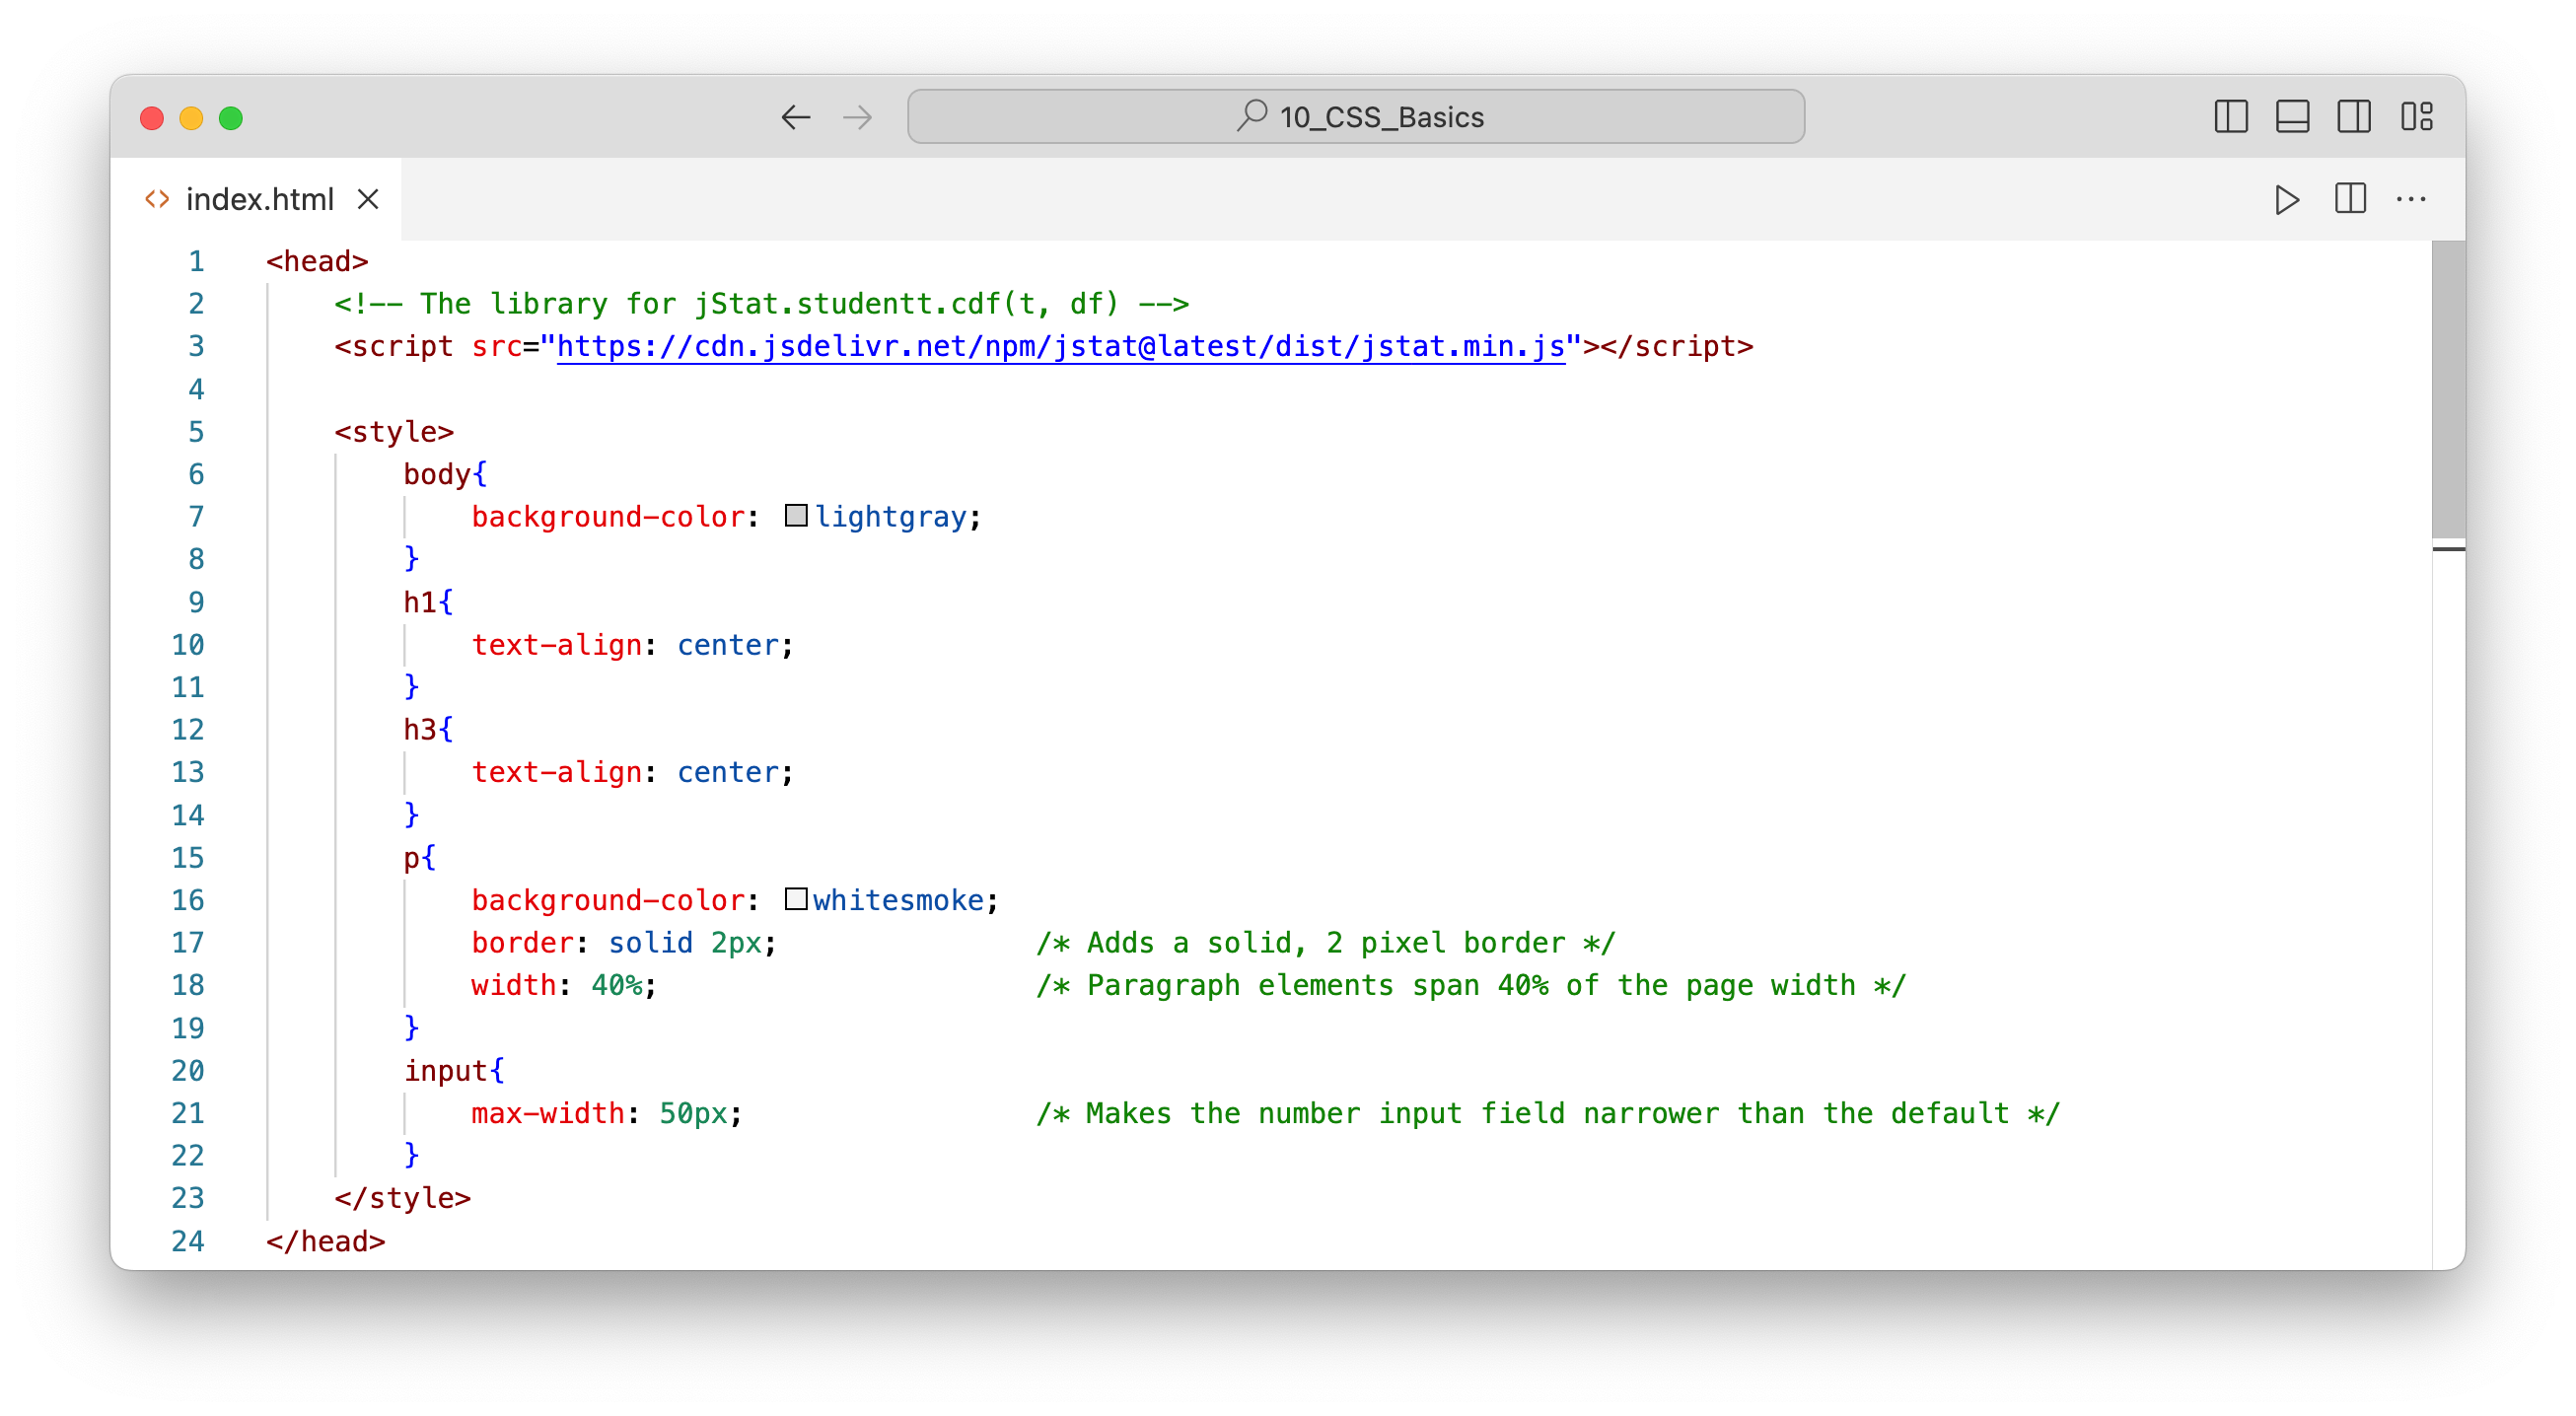
First, we need to organize our HTML document a bit. We need to create a "head" section and a "body" section. The browser will load the content in the head section before that of the body section.
The head section is identified by
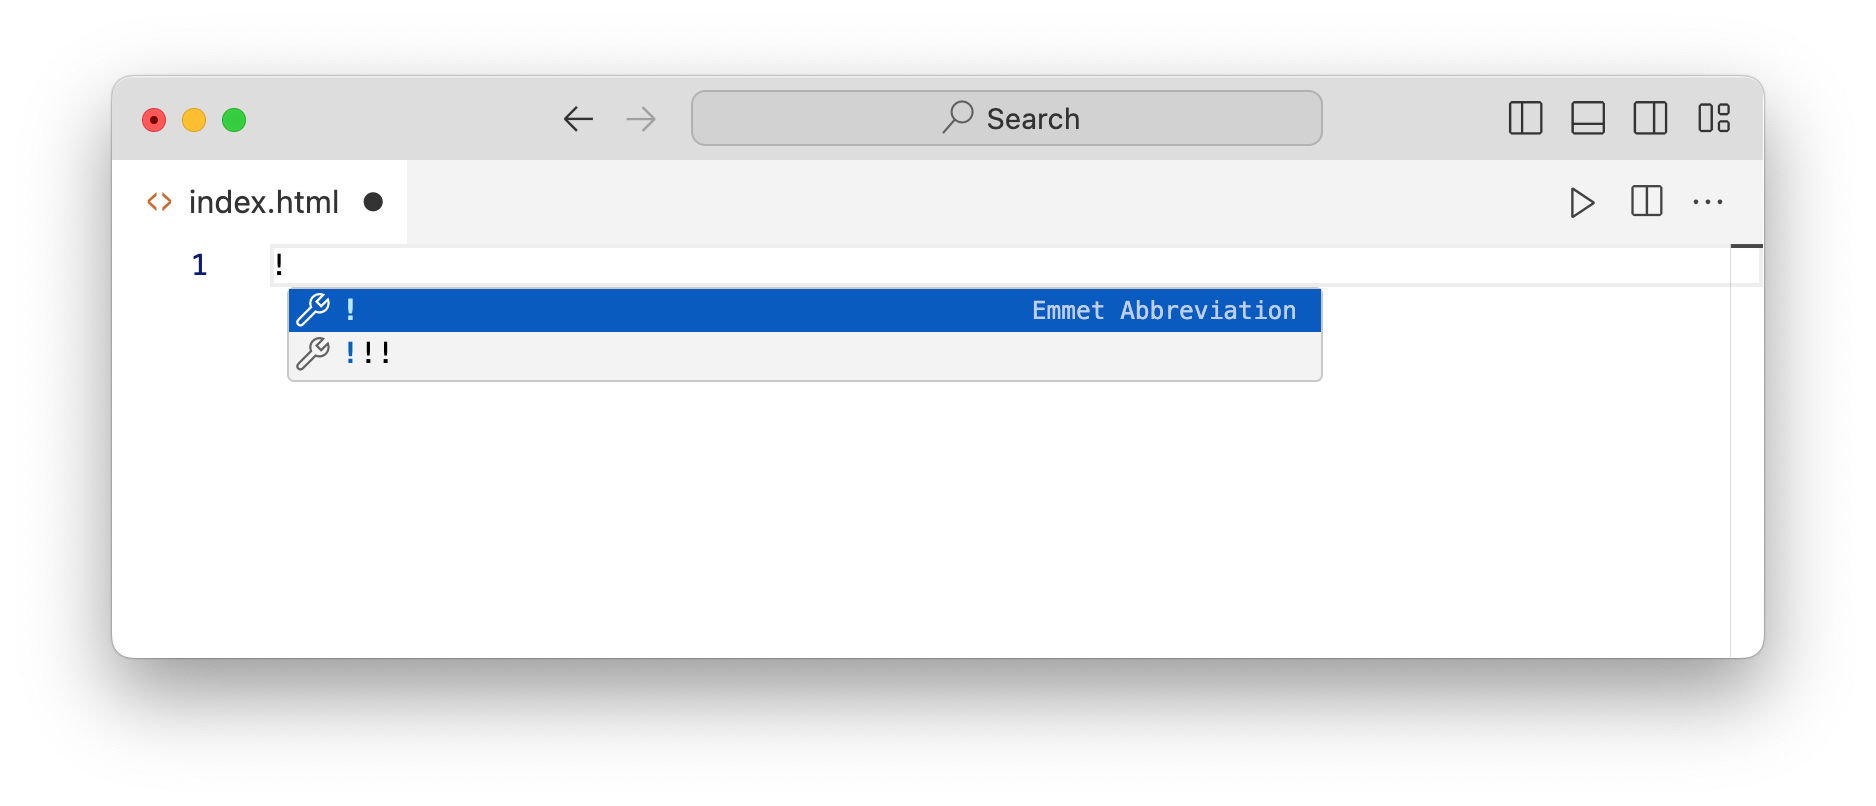
<head></head>tags and the body section by<body></body>tags. There's a cool shortcut for making these in VS Code: Just type ! in an empty HTML document and press Enter/Return:
VS Code will create some HTML boilerplate for you:
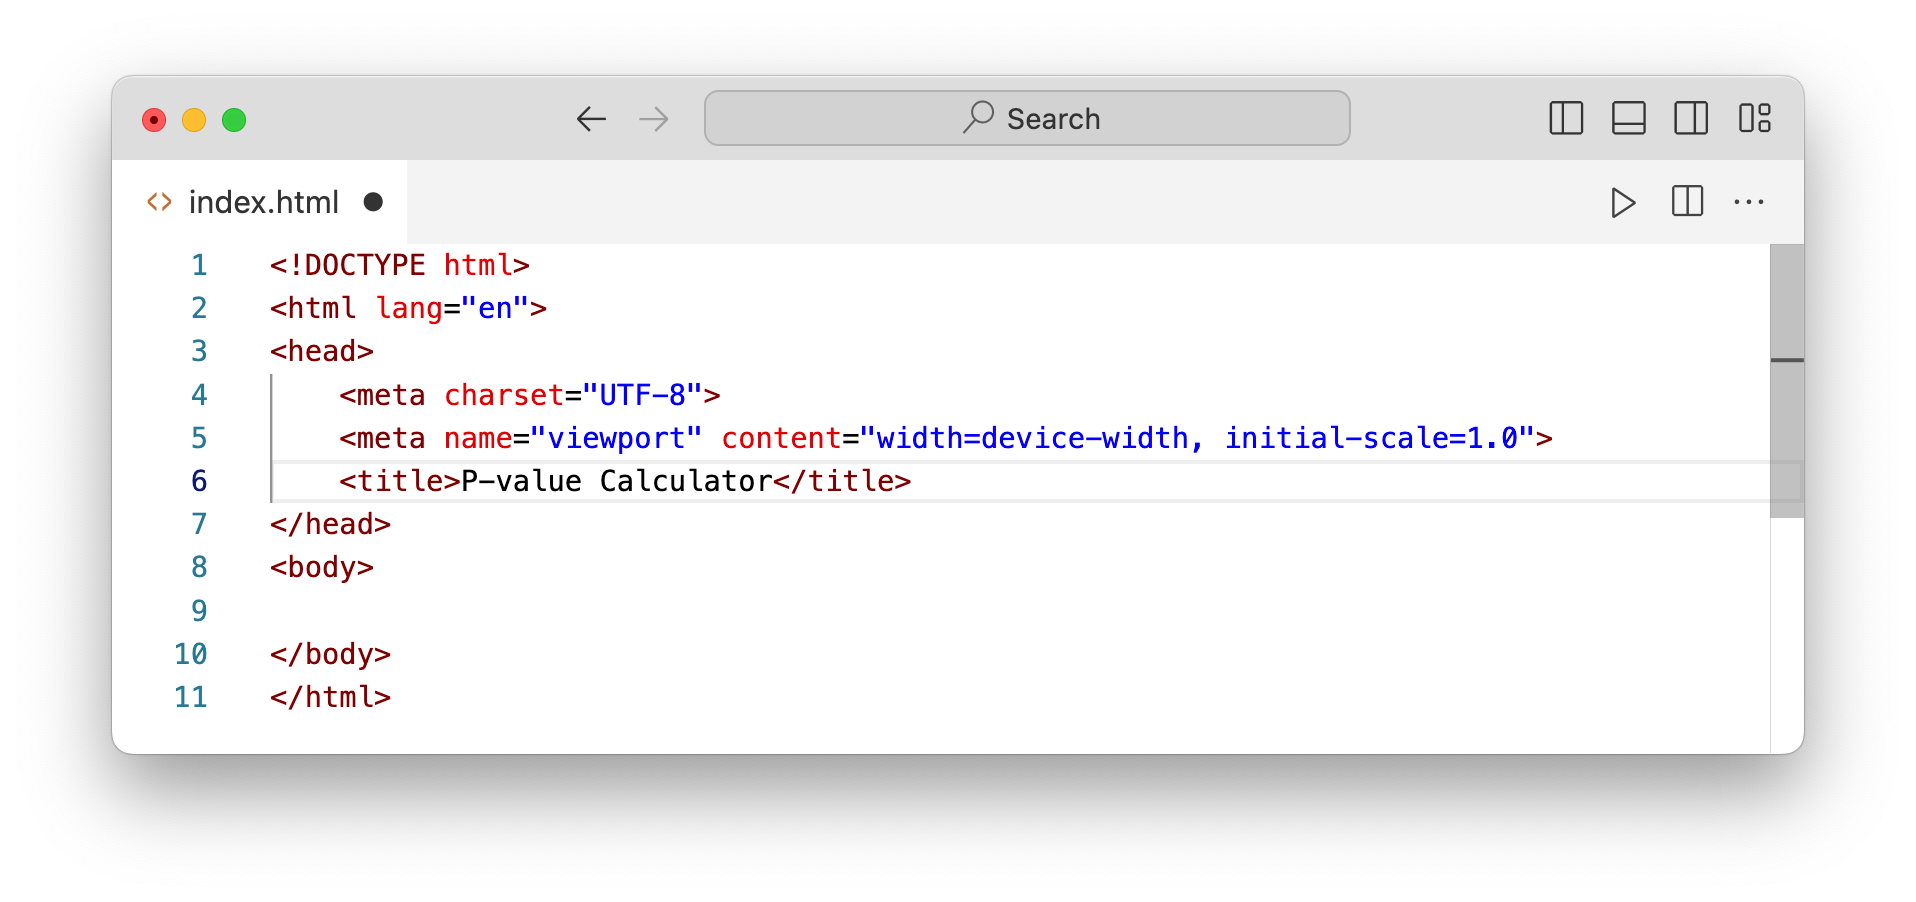
You can add the title of your page between the <title></title> tags. This is the text that will appear on the browser tab for our page. The rest of the content that was added automatically can be ignored for the scope of the present tutorial.
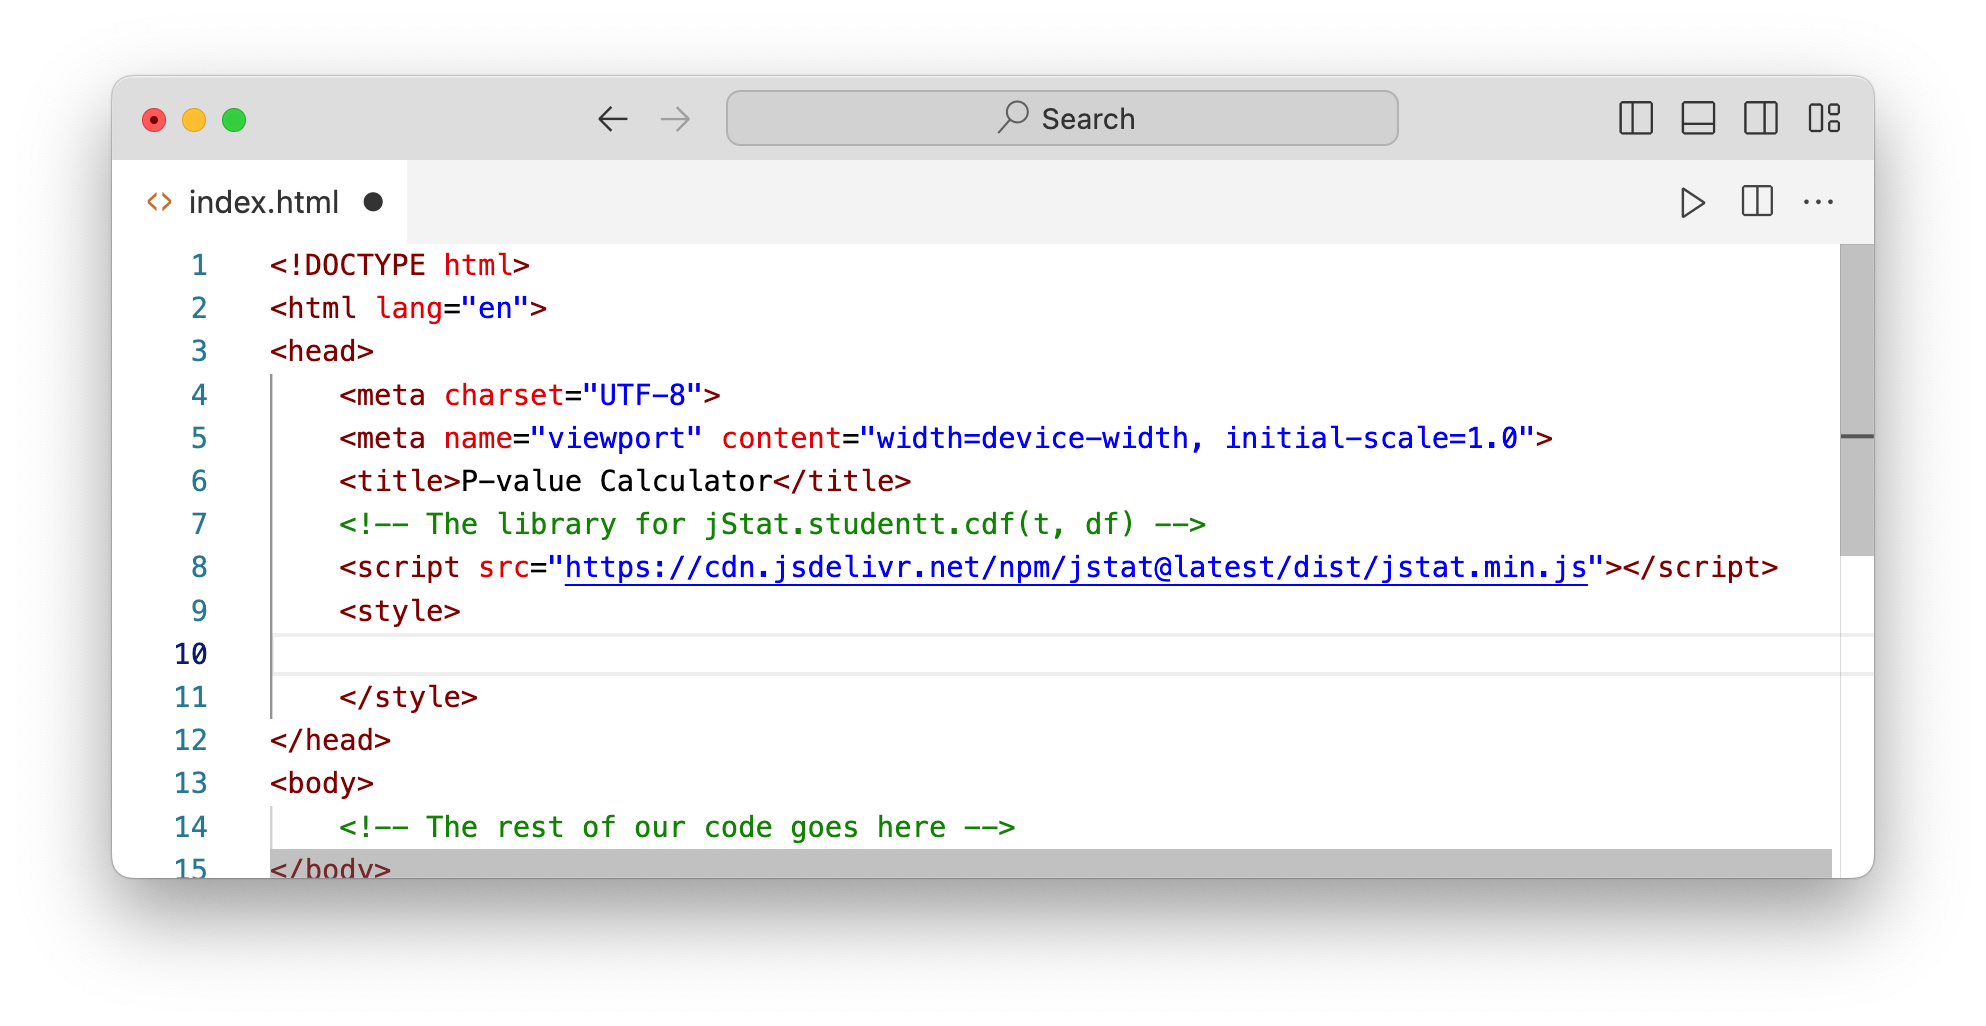
The head section where we will put the CDN script that loads the jStat library (see previous tutorial for more information about this):

The head section is also where we will add our CSS. This code will be added between
<style></style>tags.
There are also other ways of adding CSS ("External" and "Inline"), which you can learn about at w3schools if you like.
Let's get to styling! We can start with something simple: Let's tell the browser that we want everything between the
<body></body>tags to have a light gray background. Here's how we can go about this:
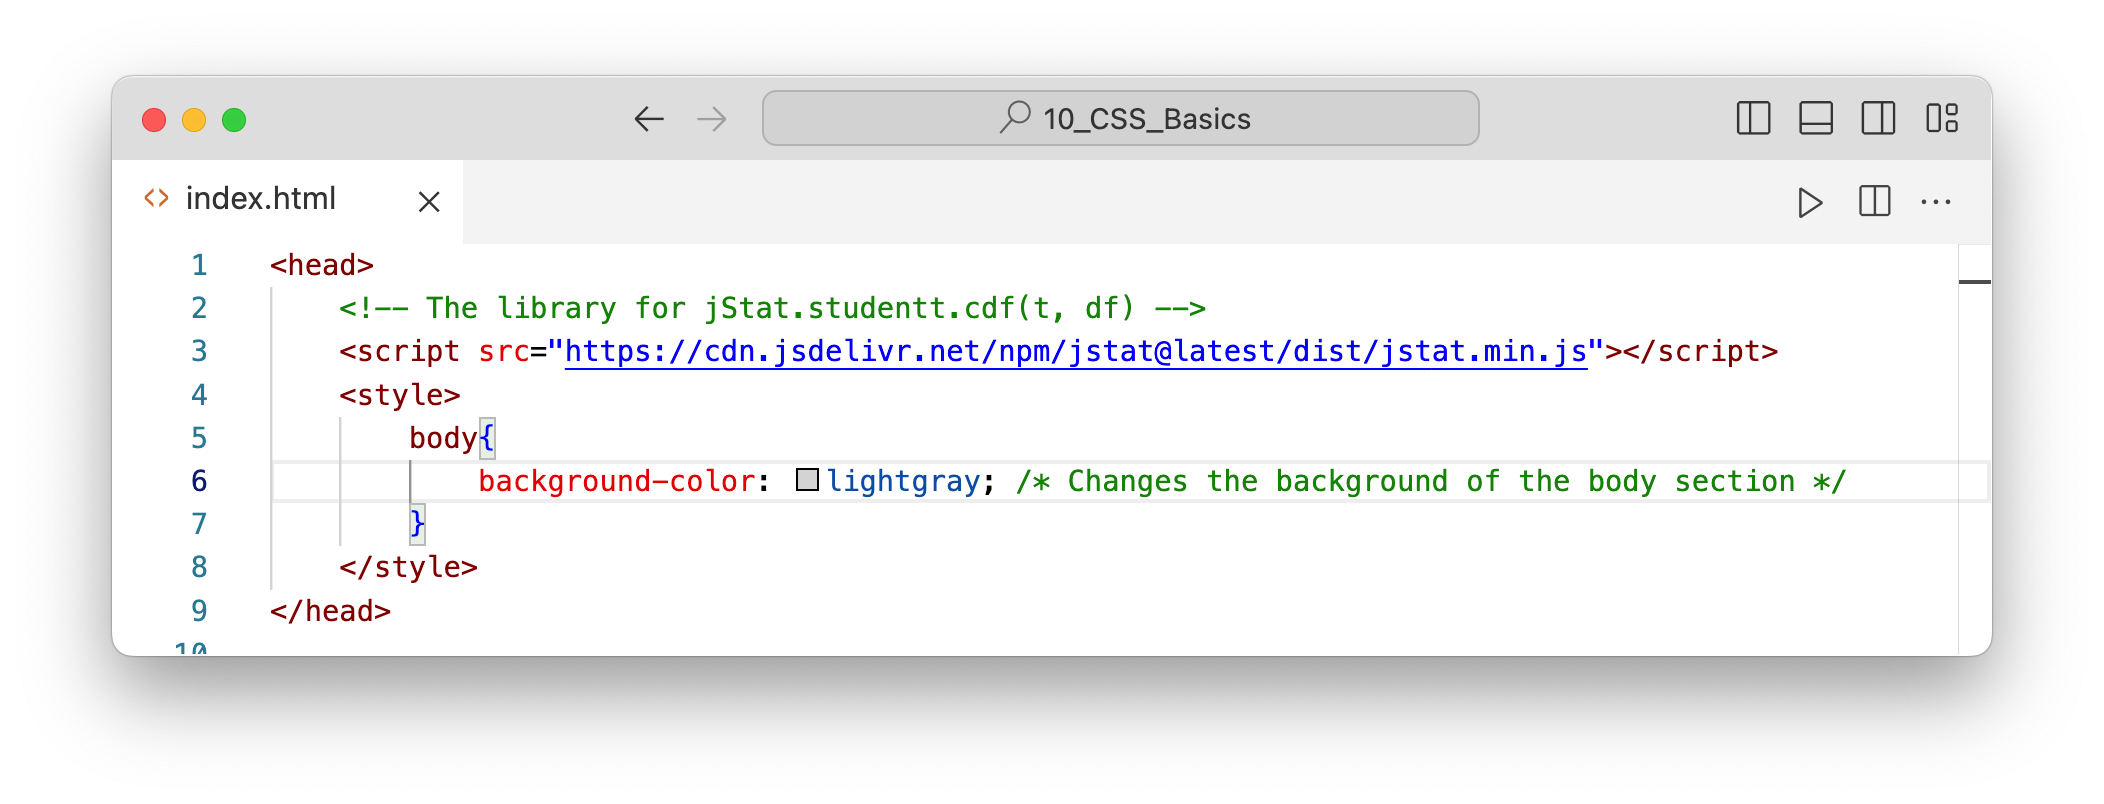
(Note that the green content between the <!-- --> and /* */ tags are just comments for the reader. They are ignored by the browser.)
Open the document in the brower to see the results!
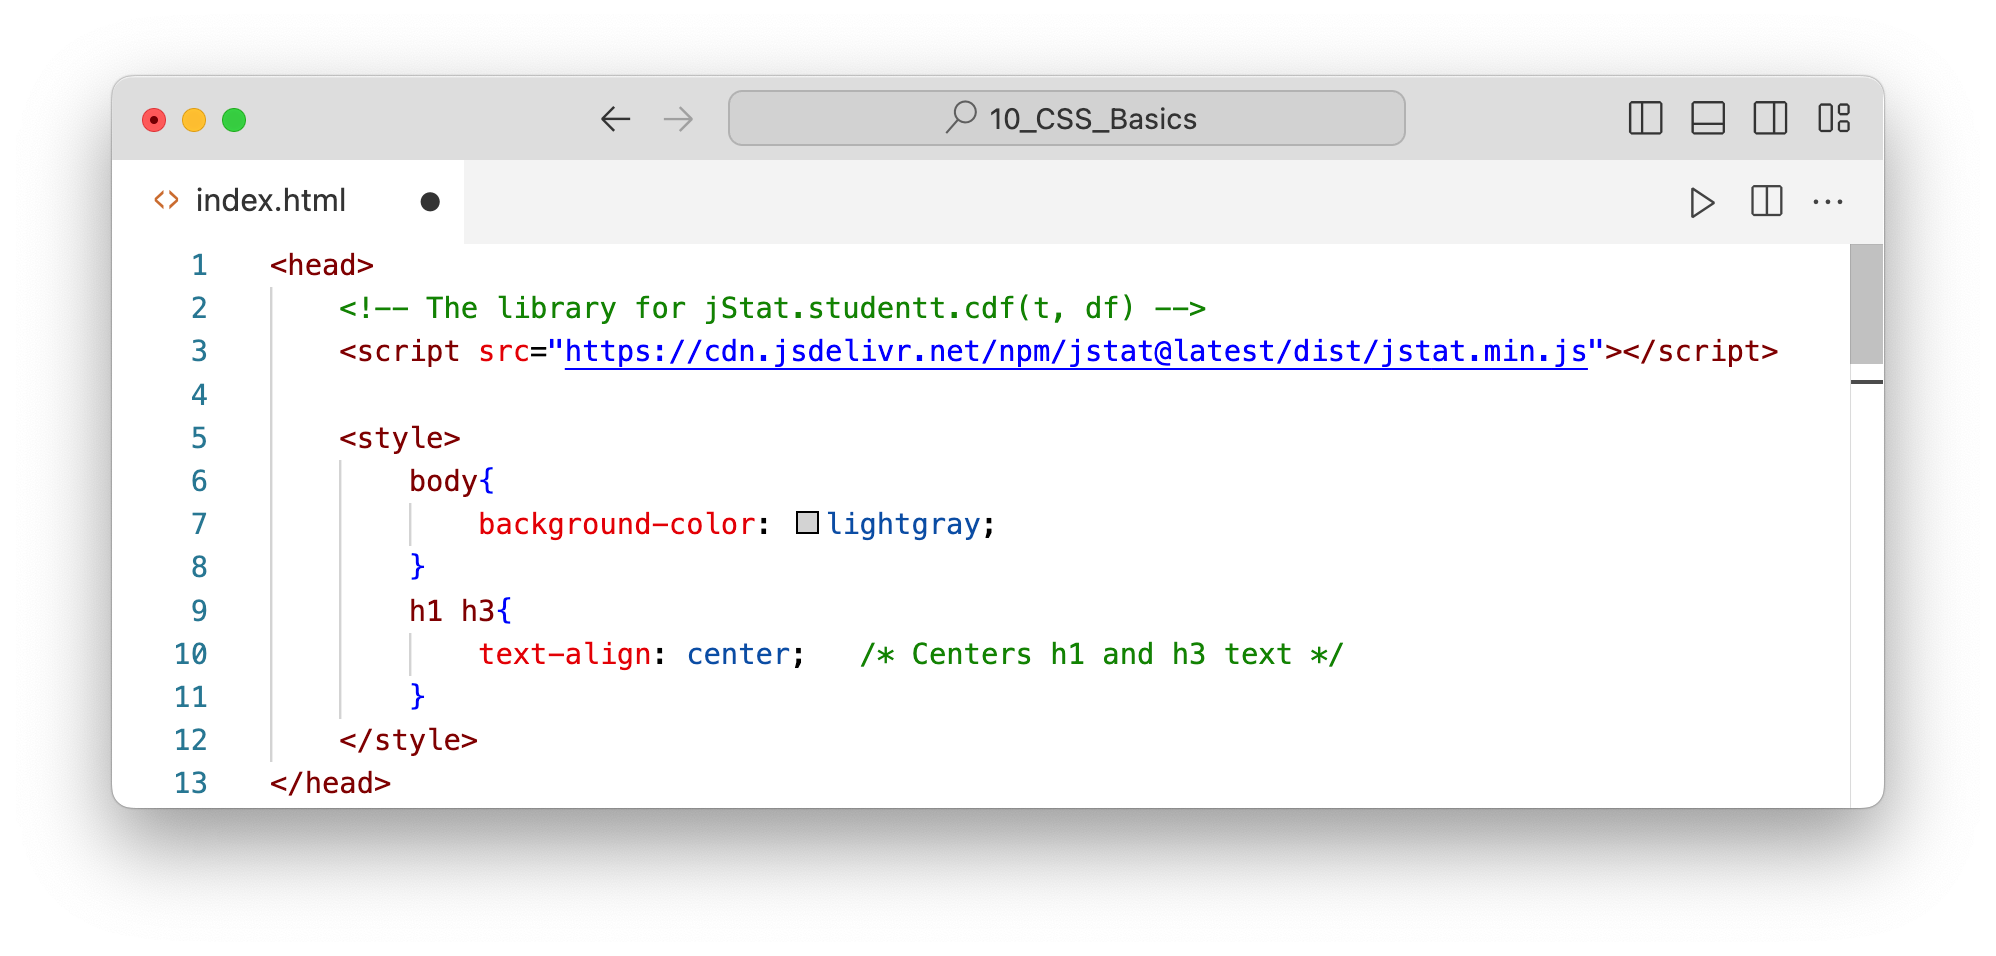
Similarly, let's tell the browser that we want any content in the h1 and h3 tags to be centered on the page:
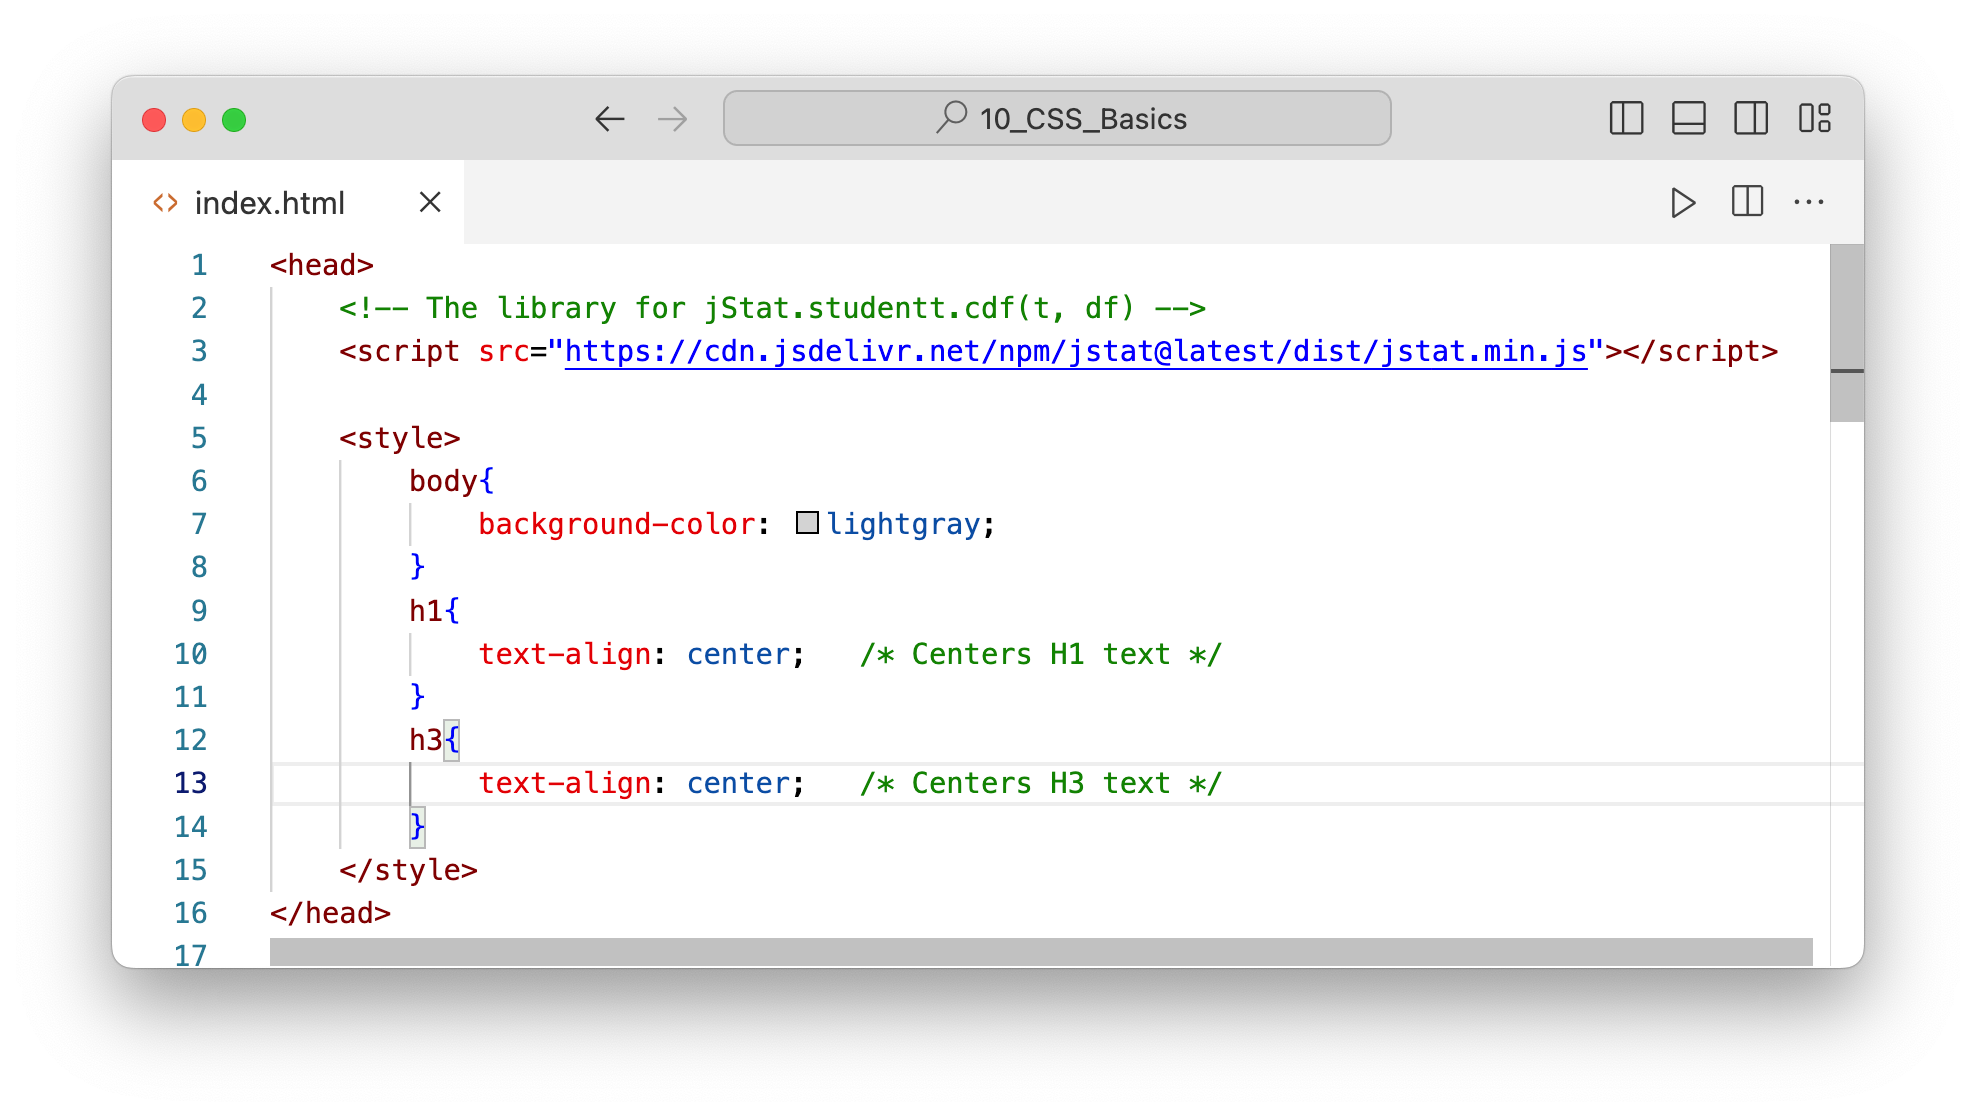
...or more concisely:
Let's see the result:
It's starting to look better already!
We can also style our
<p>elements. We can specify that each be surrounded by a solid 2 pixel border (black by default):
You can see that each <p> element is actually displayed as its own rectangular container!
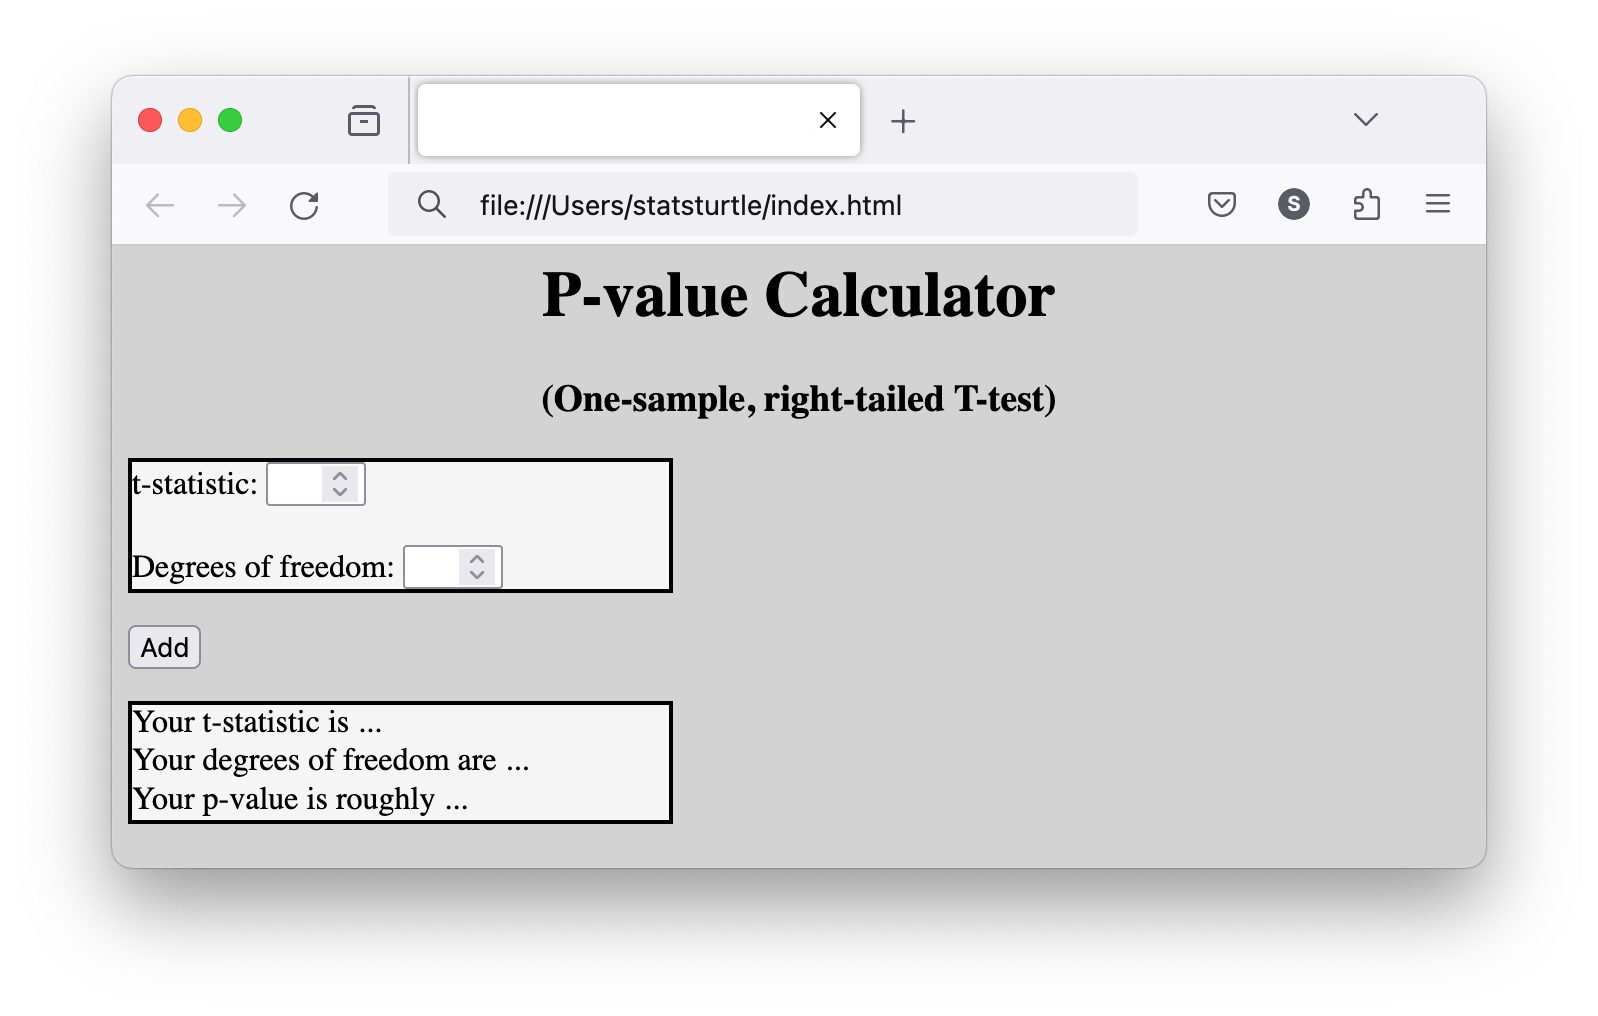
We also used the width attribute to specify that each container cover 40% of the page width.
Notice that we also reduced the width of the "t-statistic" and "degrees of freedom" input fields with the max.width attribute. We set the width to 50 pixels (the basic units of resolution on computer screens).
Conclusion
Okay, this is looking a little bit nicer! Still, a few more touch-ups would be nice:
Centering the containers and "calculate" button on the page
Adding some buffer space between text and the container borders.
To do these we wil dive a bit deeper into CSS, introducing the "box model." This is a central CSS concept that is important to understand if you do more front-end webpage design. Stay tuned!